Overview
In this project I applied a variety of filters to sharpen and blur images, create hybrid images, and did multiresolution blending.
Part 1: Fun with Filters
Part 1.1: Finite Difference Operator
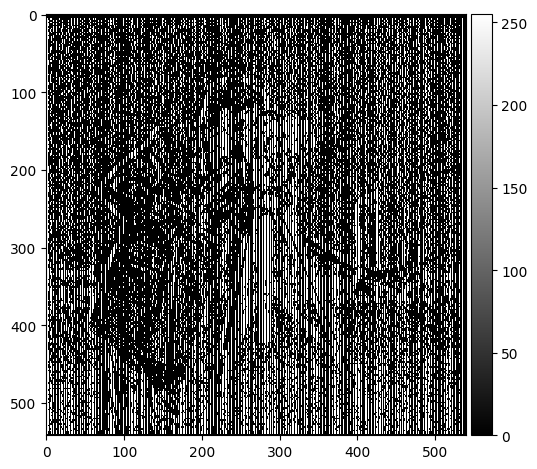
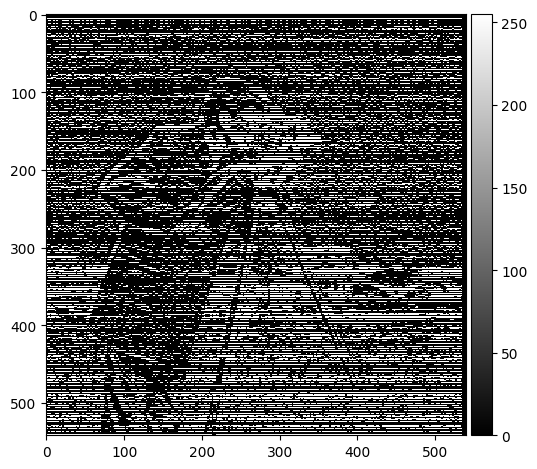
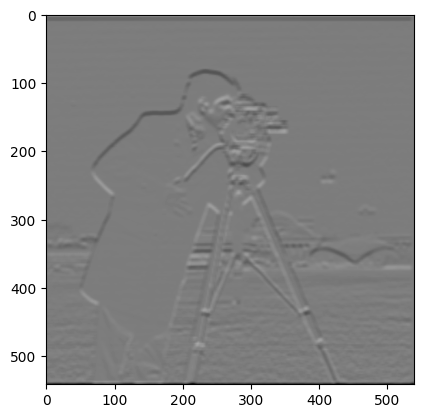
In this part, I took the partial derivative in x and y of the cameraman image by convolving with finite difference operators D_x and D_y. I then calculated the gradient magnitude and binarized to get edges. To compute the gradient magnitude, which measures the rate of change in pixel intensity, I used partial derivatives of the image intensity function in both the horizontal and vertical directions. Then, I combined these two changes to get the "gradient magnitude." The bigger the gradient magnitude, the more likely there is an edge due to drastic changes in that area in an image.

|
|
|

|
Part 1.2: Derivative of Gaussian (DoG) Filter
|
|
|

|
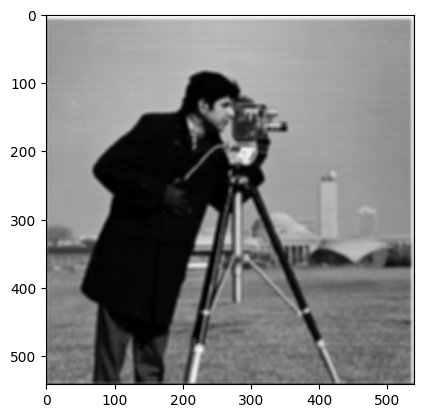
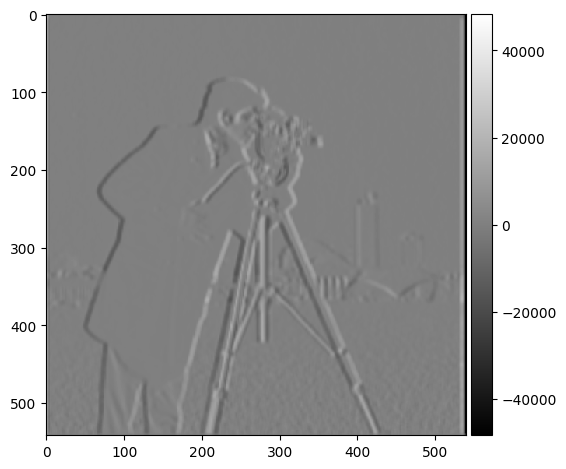
What differences do you see?
I see that the background noise has been significantly reduced. The edges of the man and camera are also more pronounced.

|
|
|

|
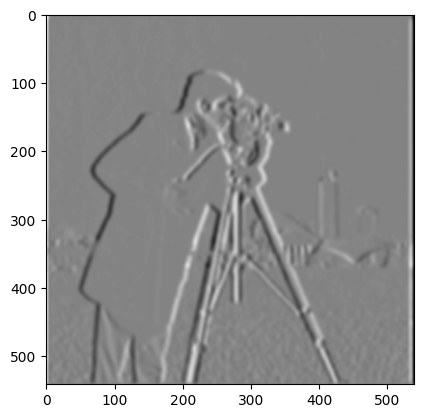
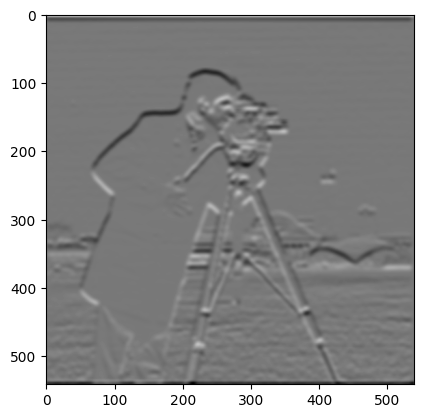
In the second part, I used a single convolution instead of two by creating a derivative of Gaussian filters. Since convolutions are associative, we are able to get the same results as with two convolutions.
Part 2: Fun with Frequencies!
Part 2.1: Image "Sharpening"
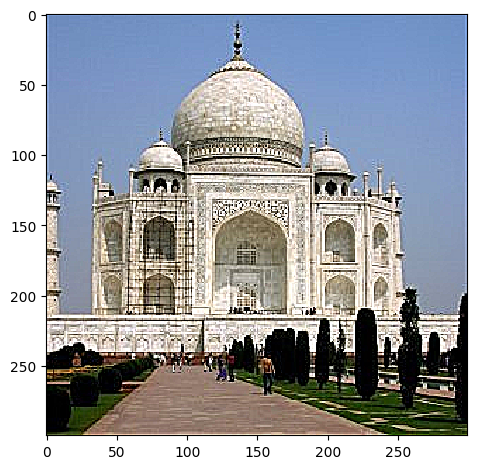
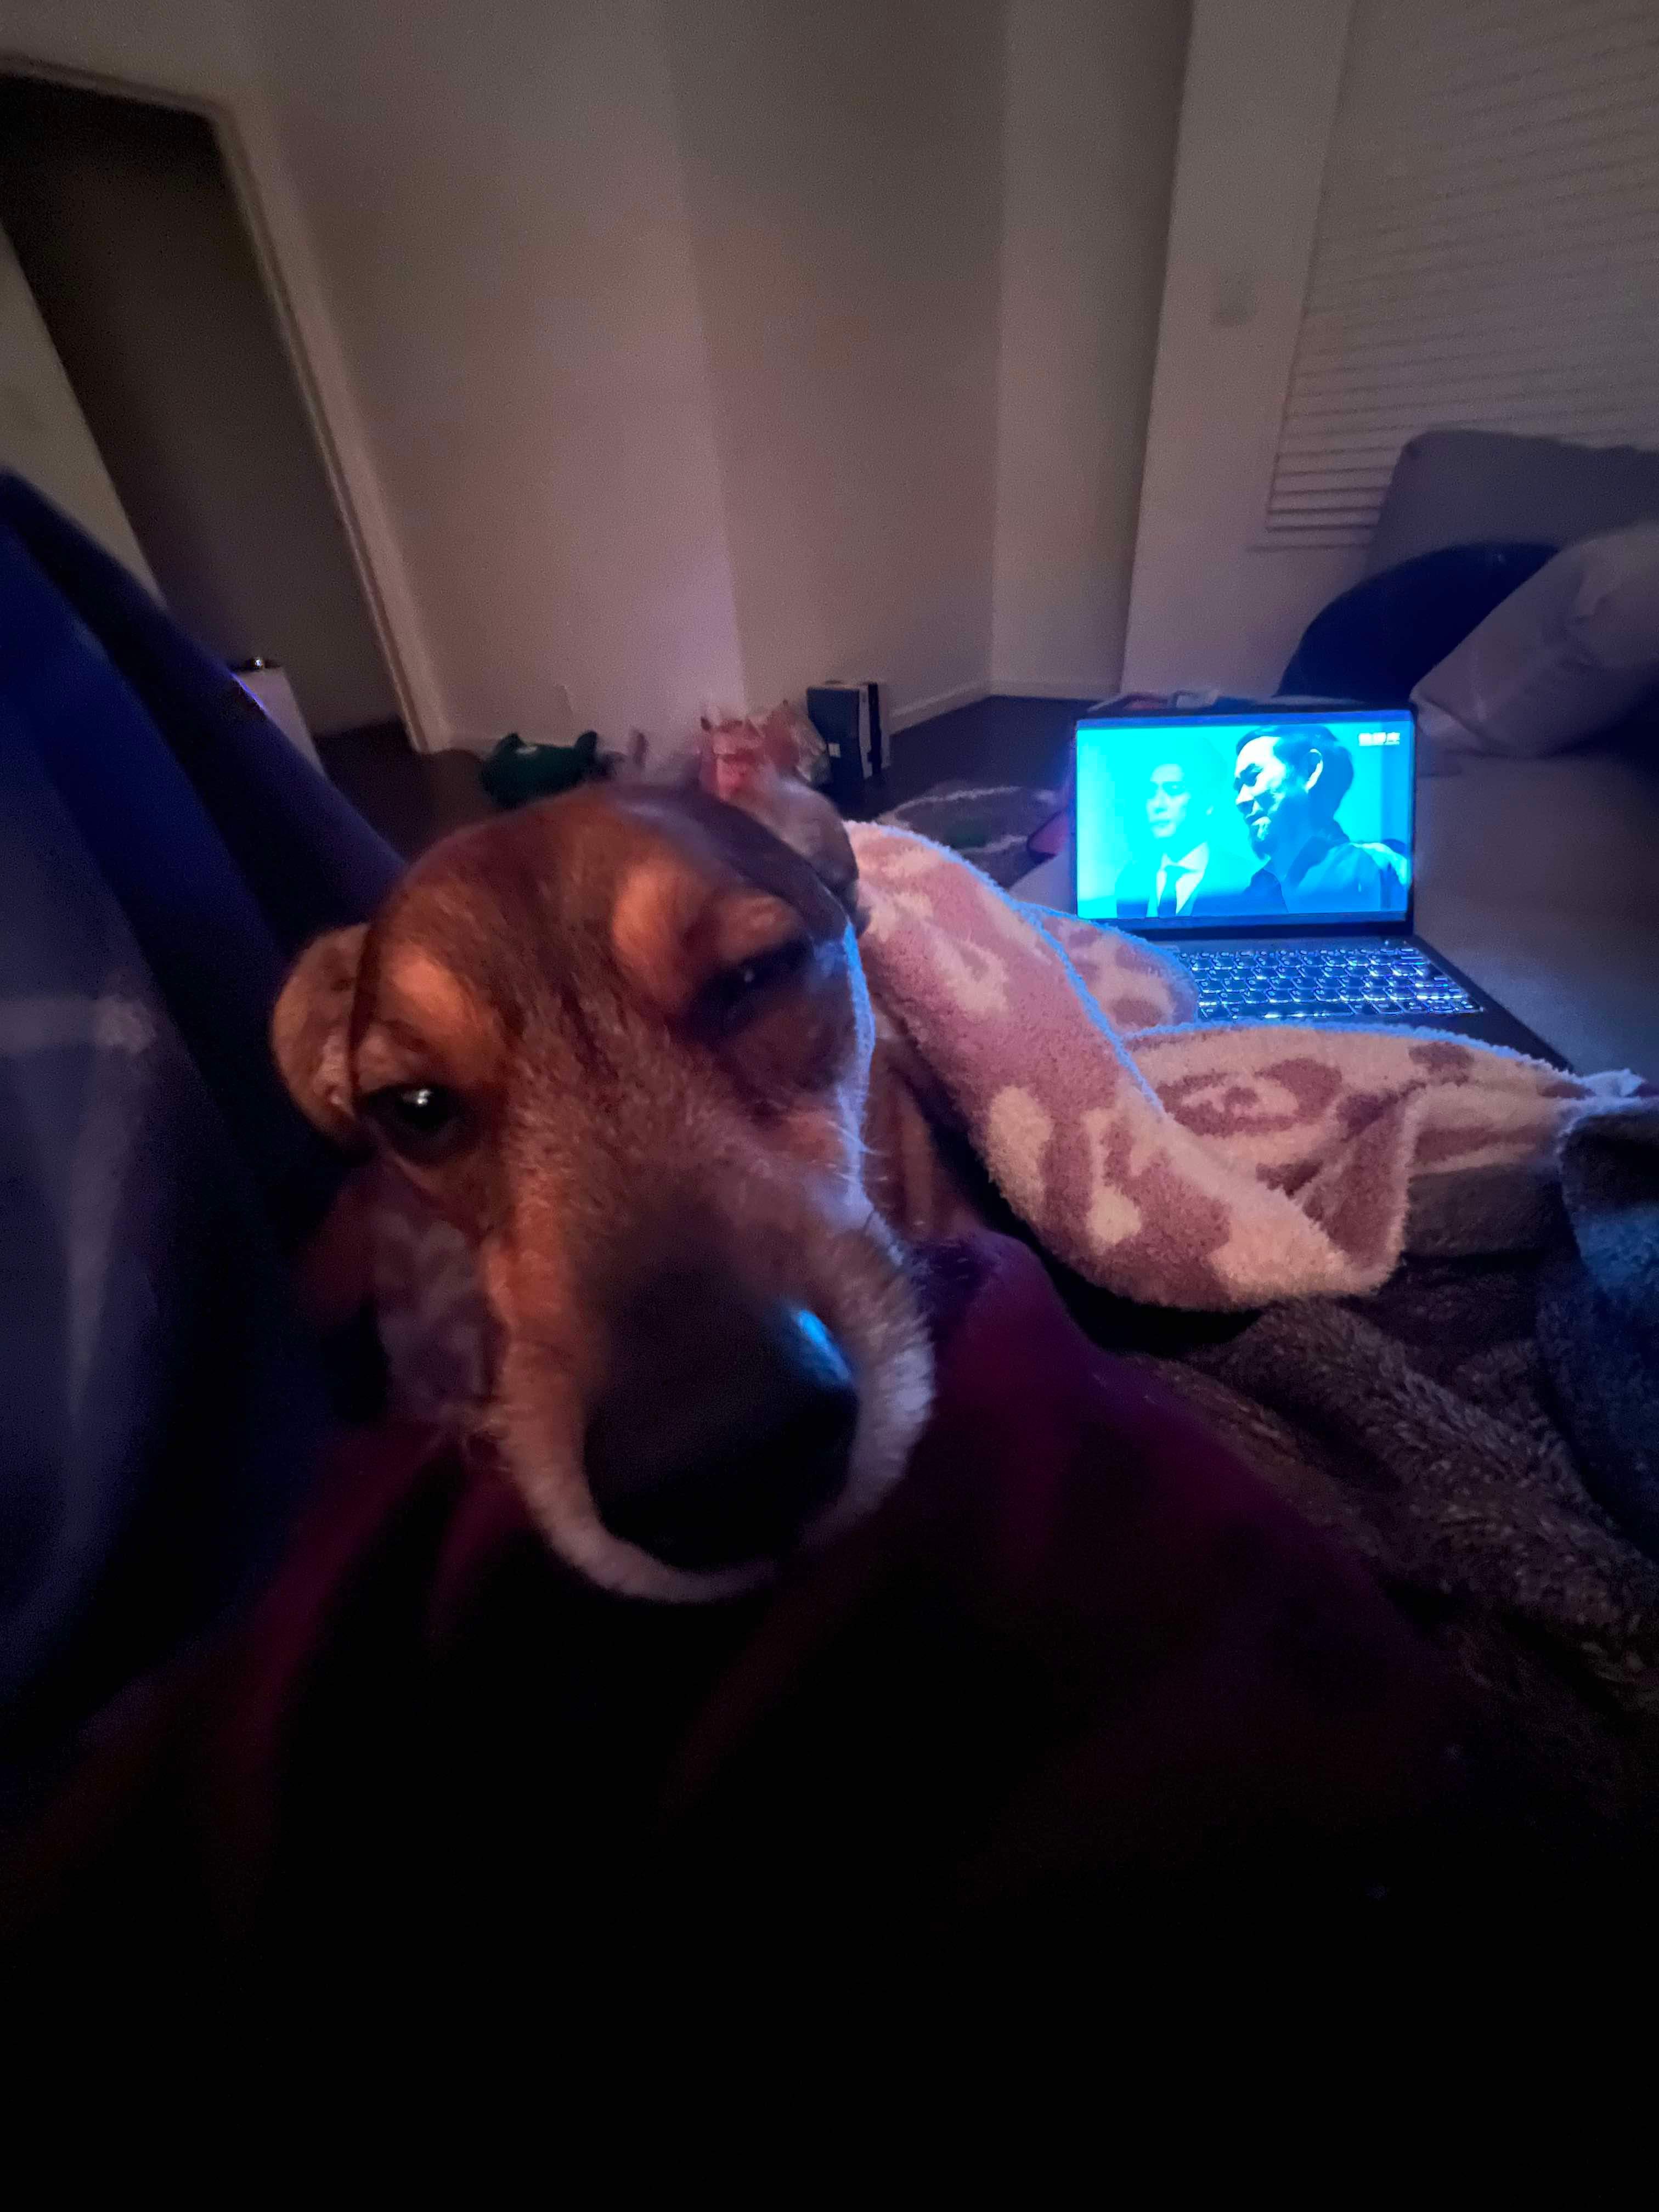
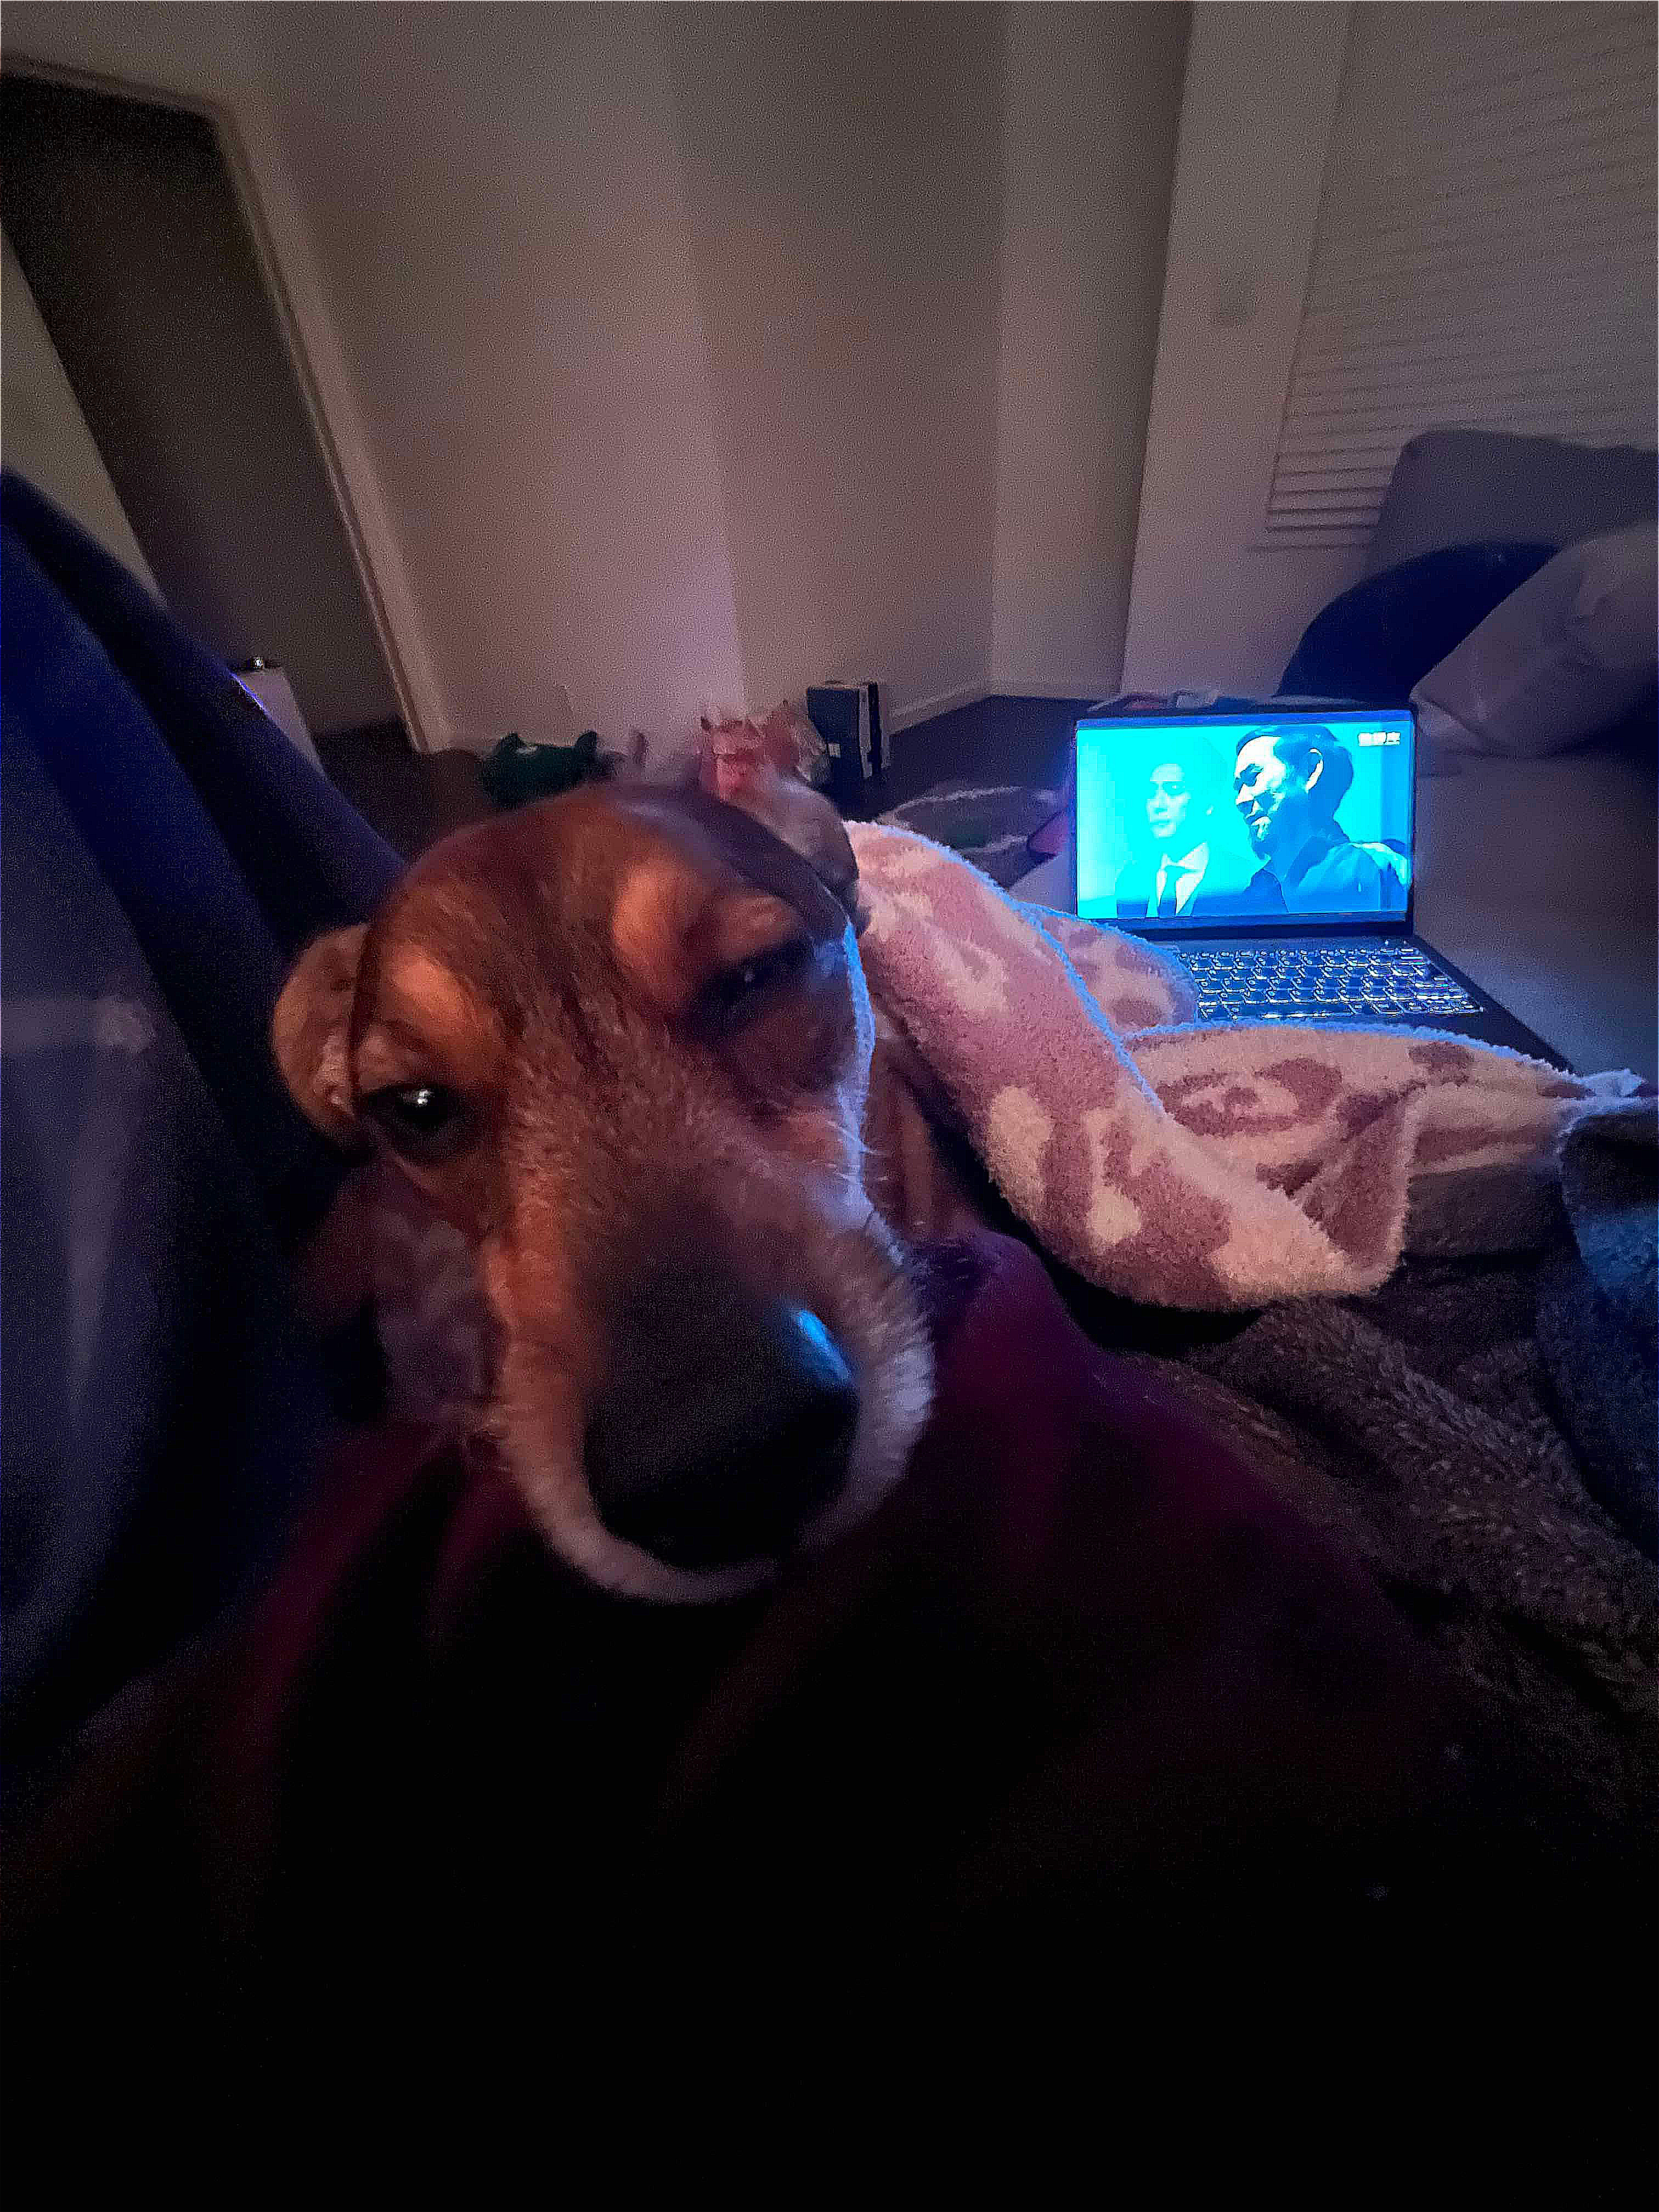
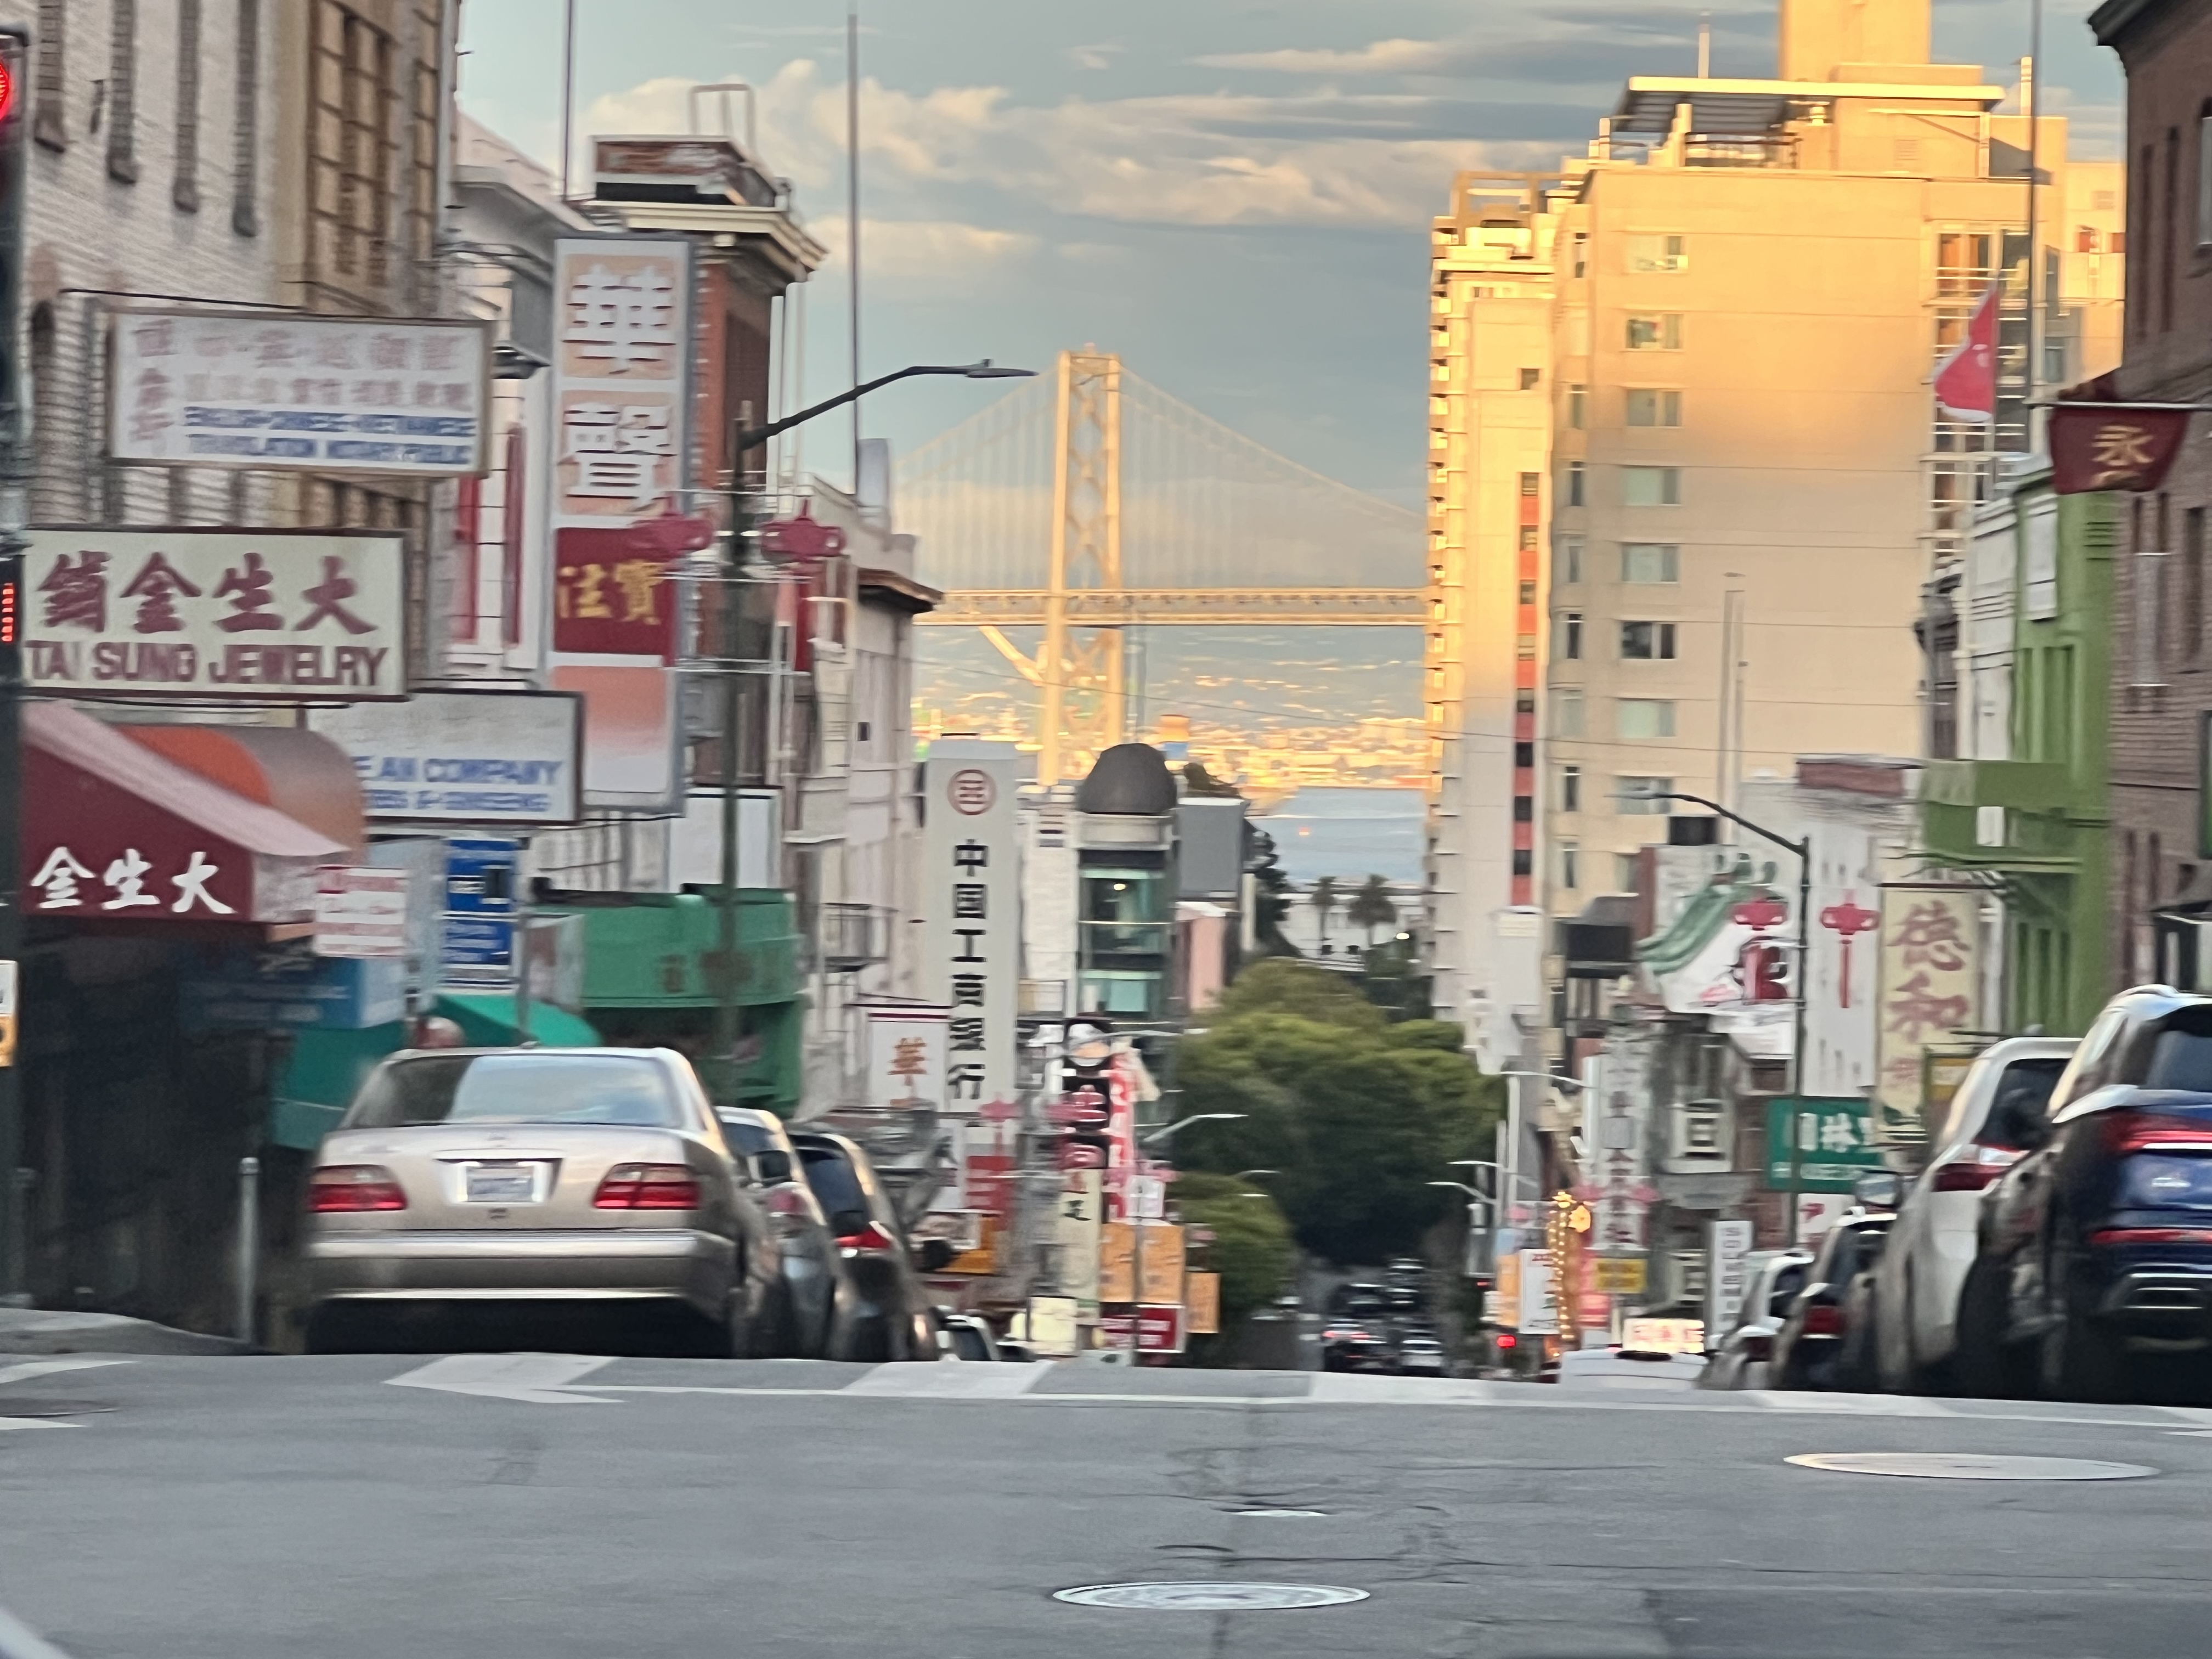
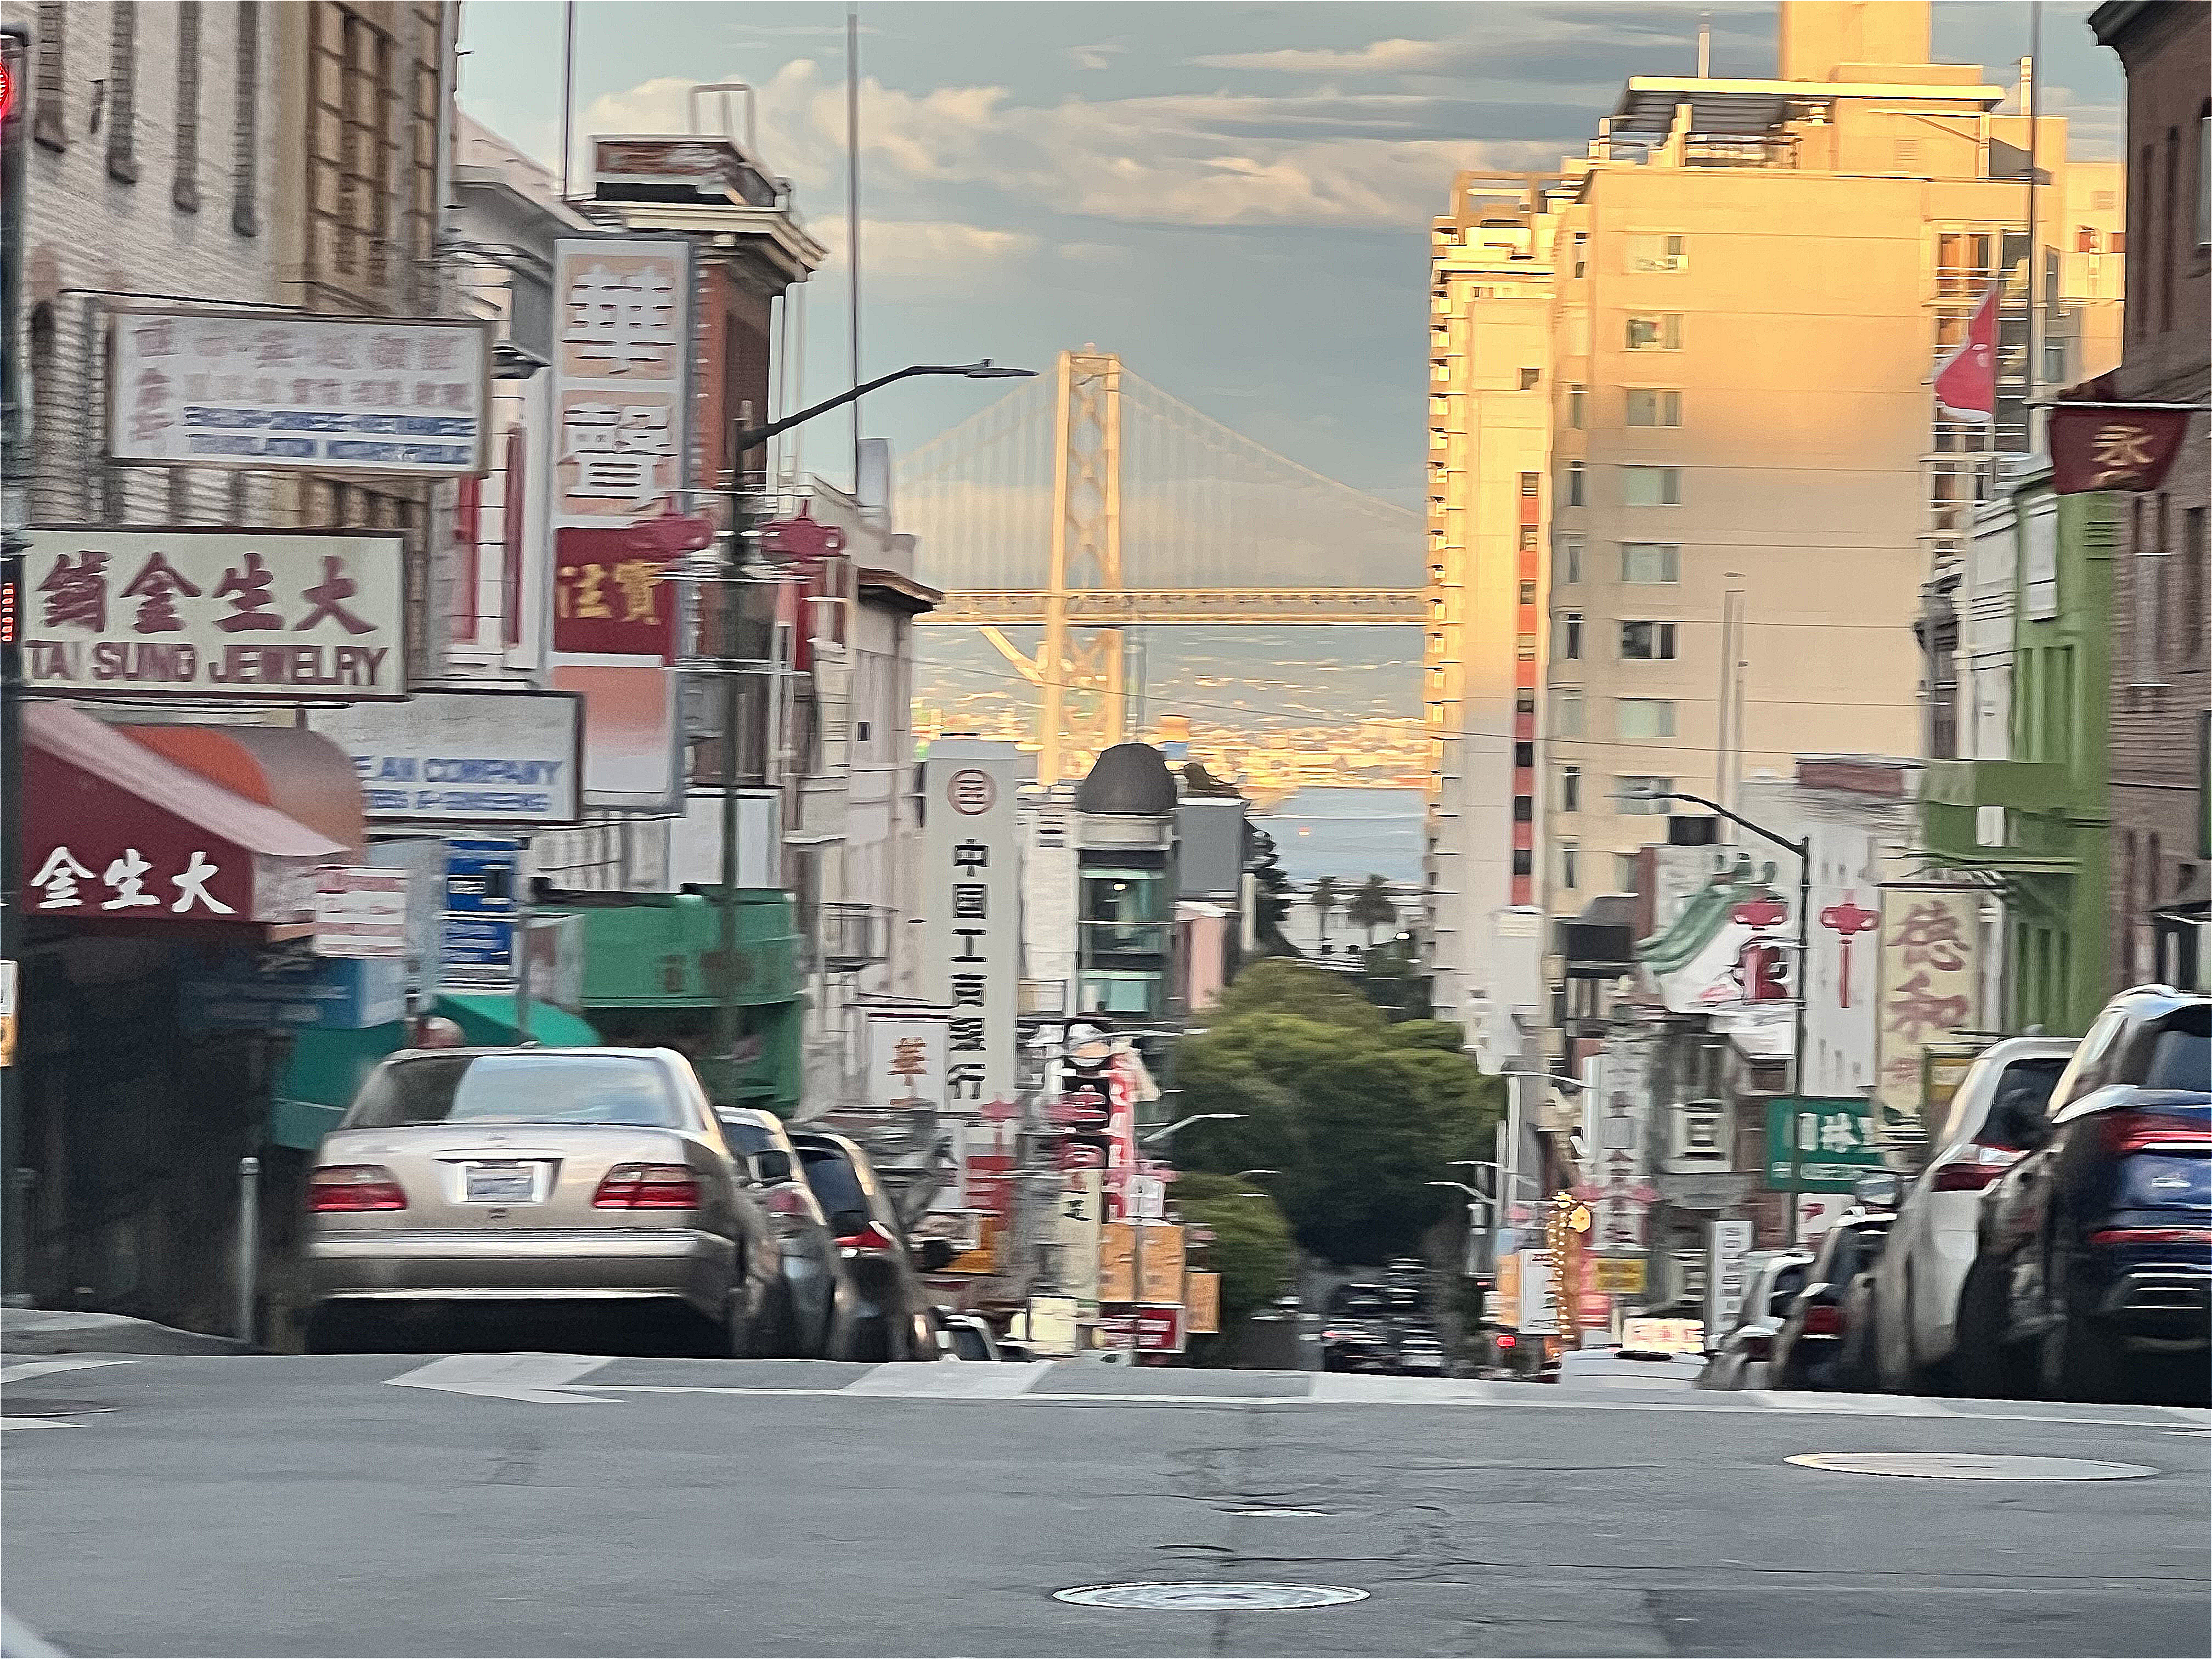
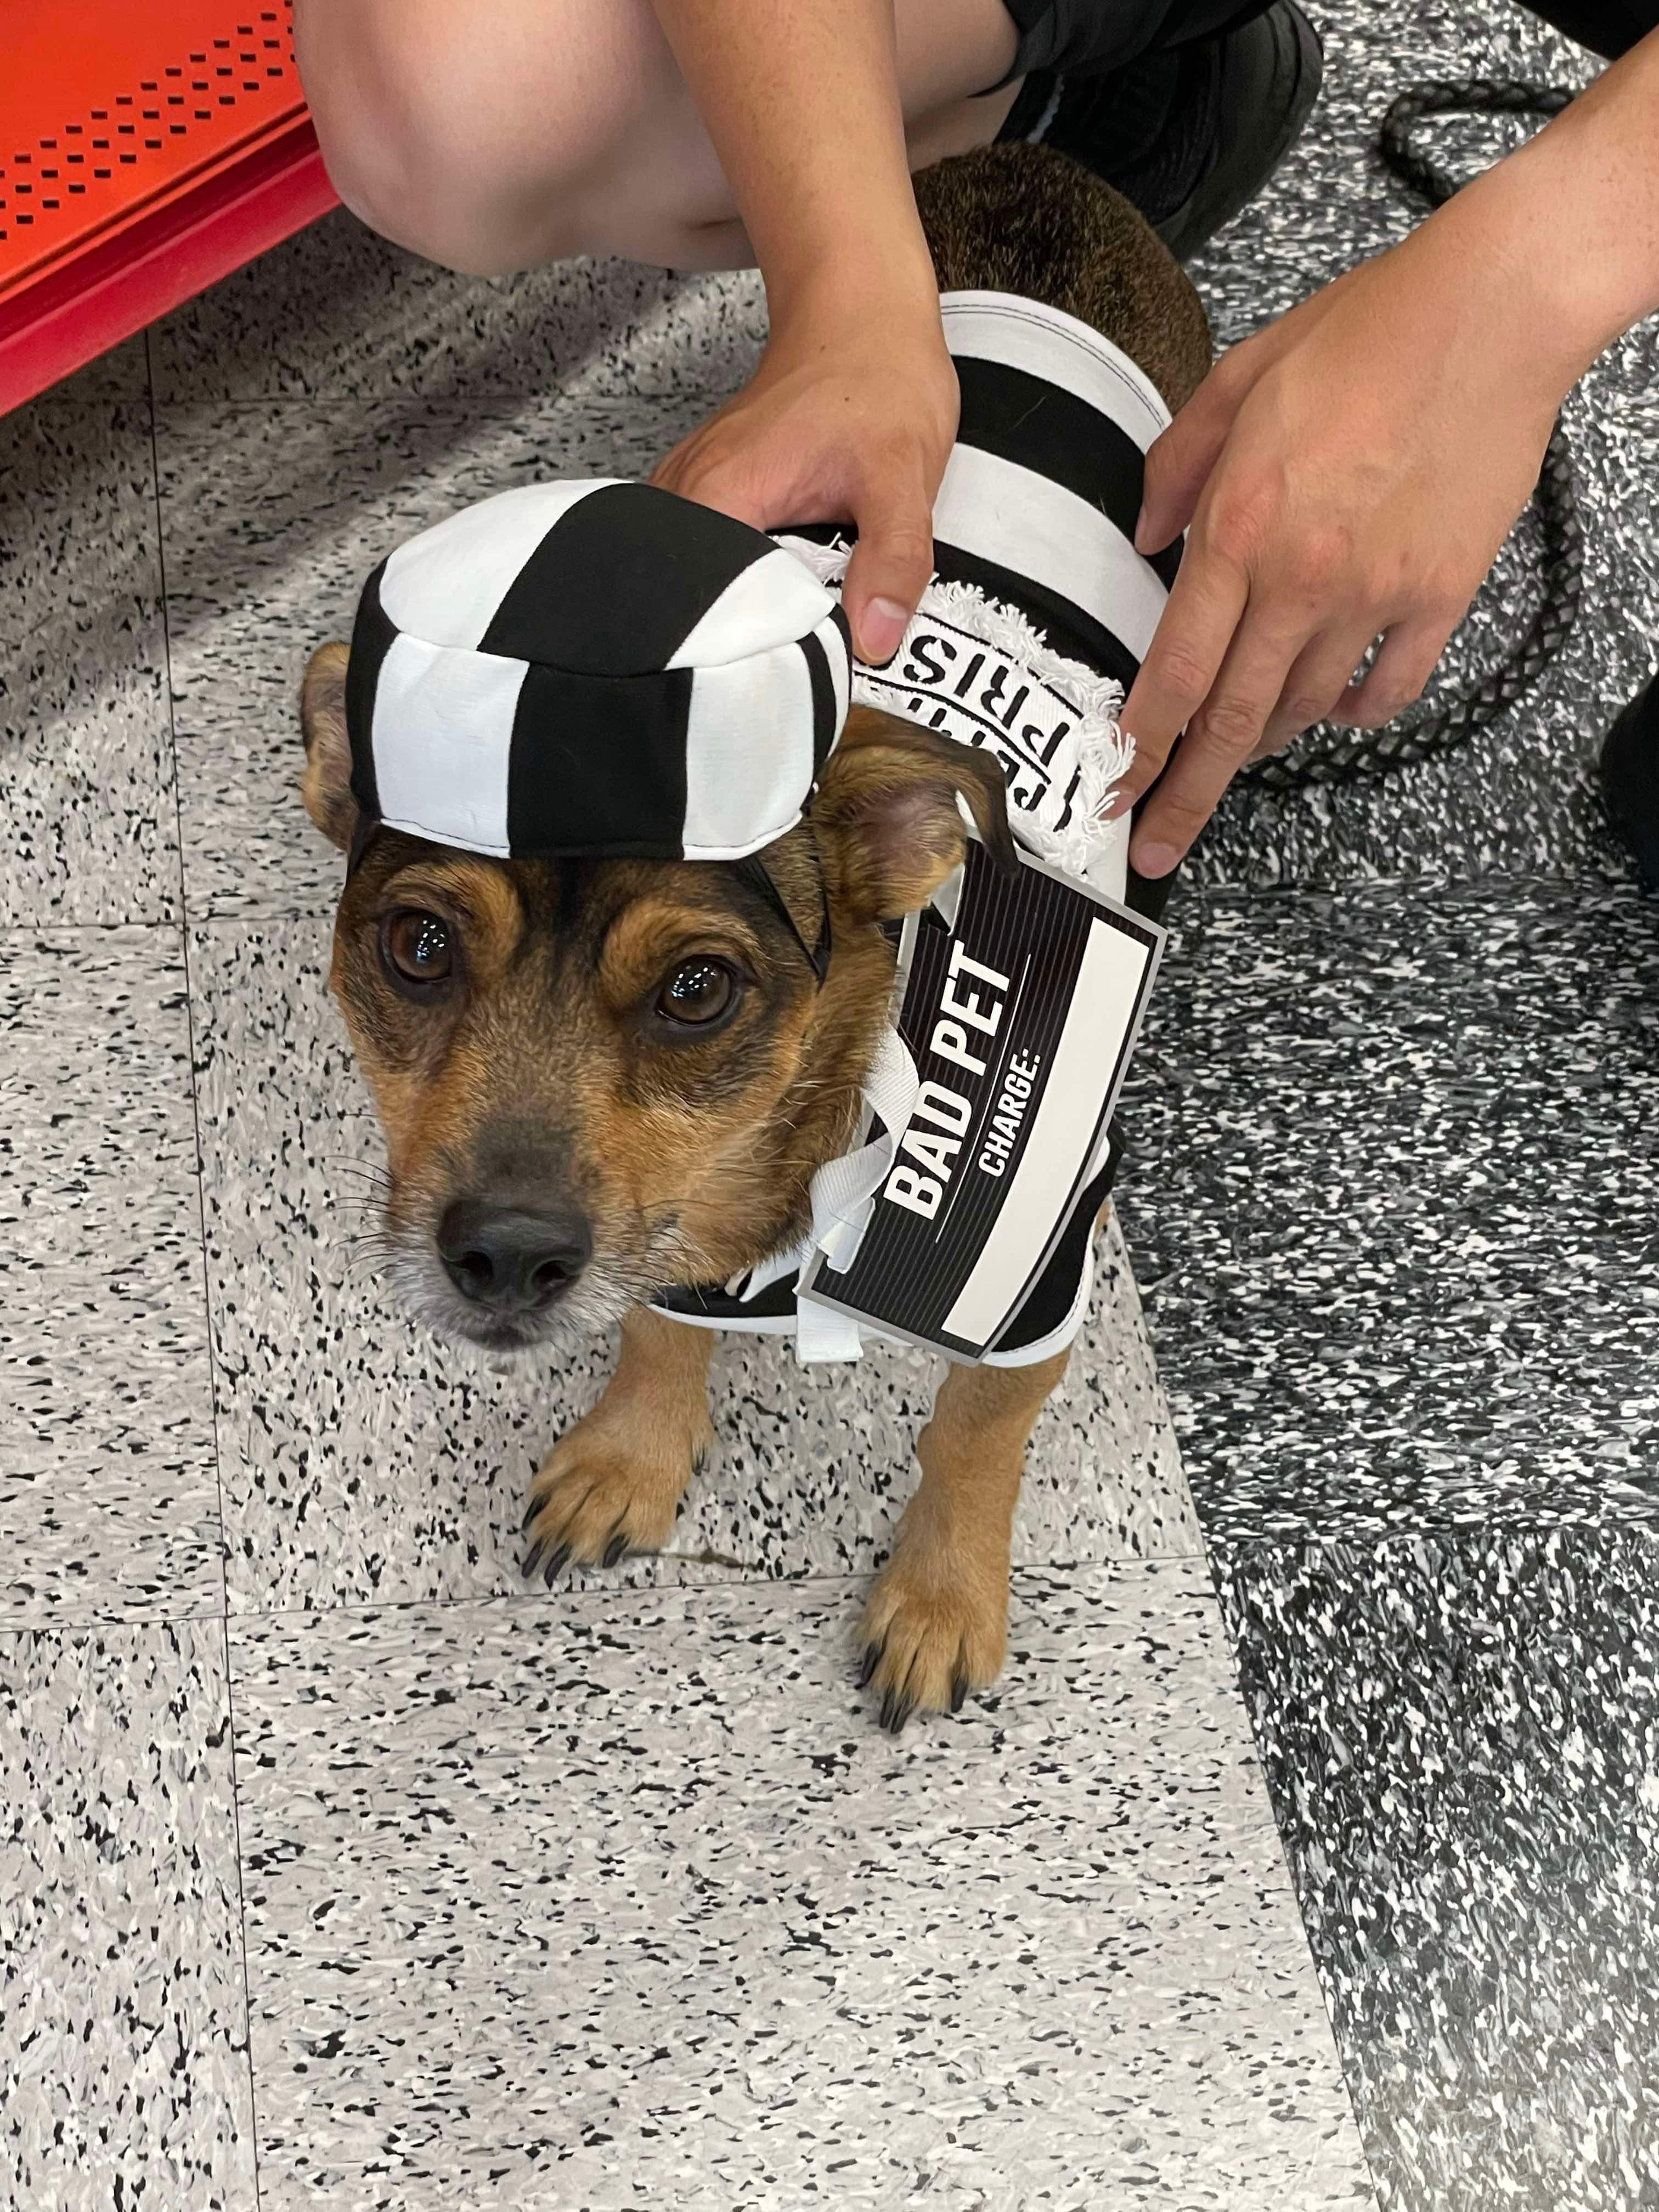
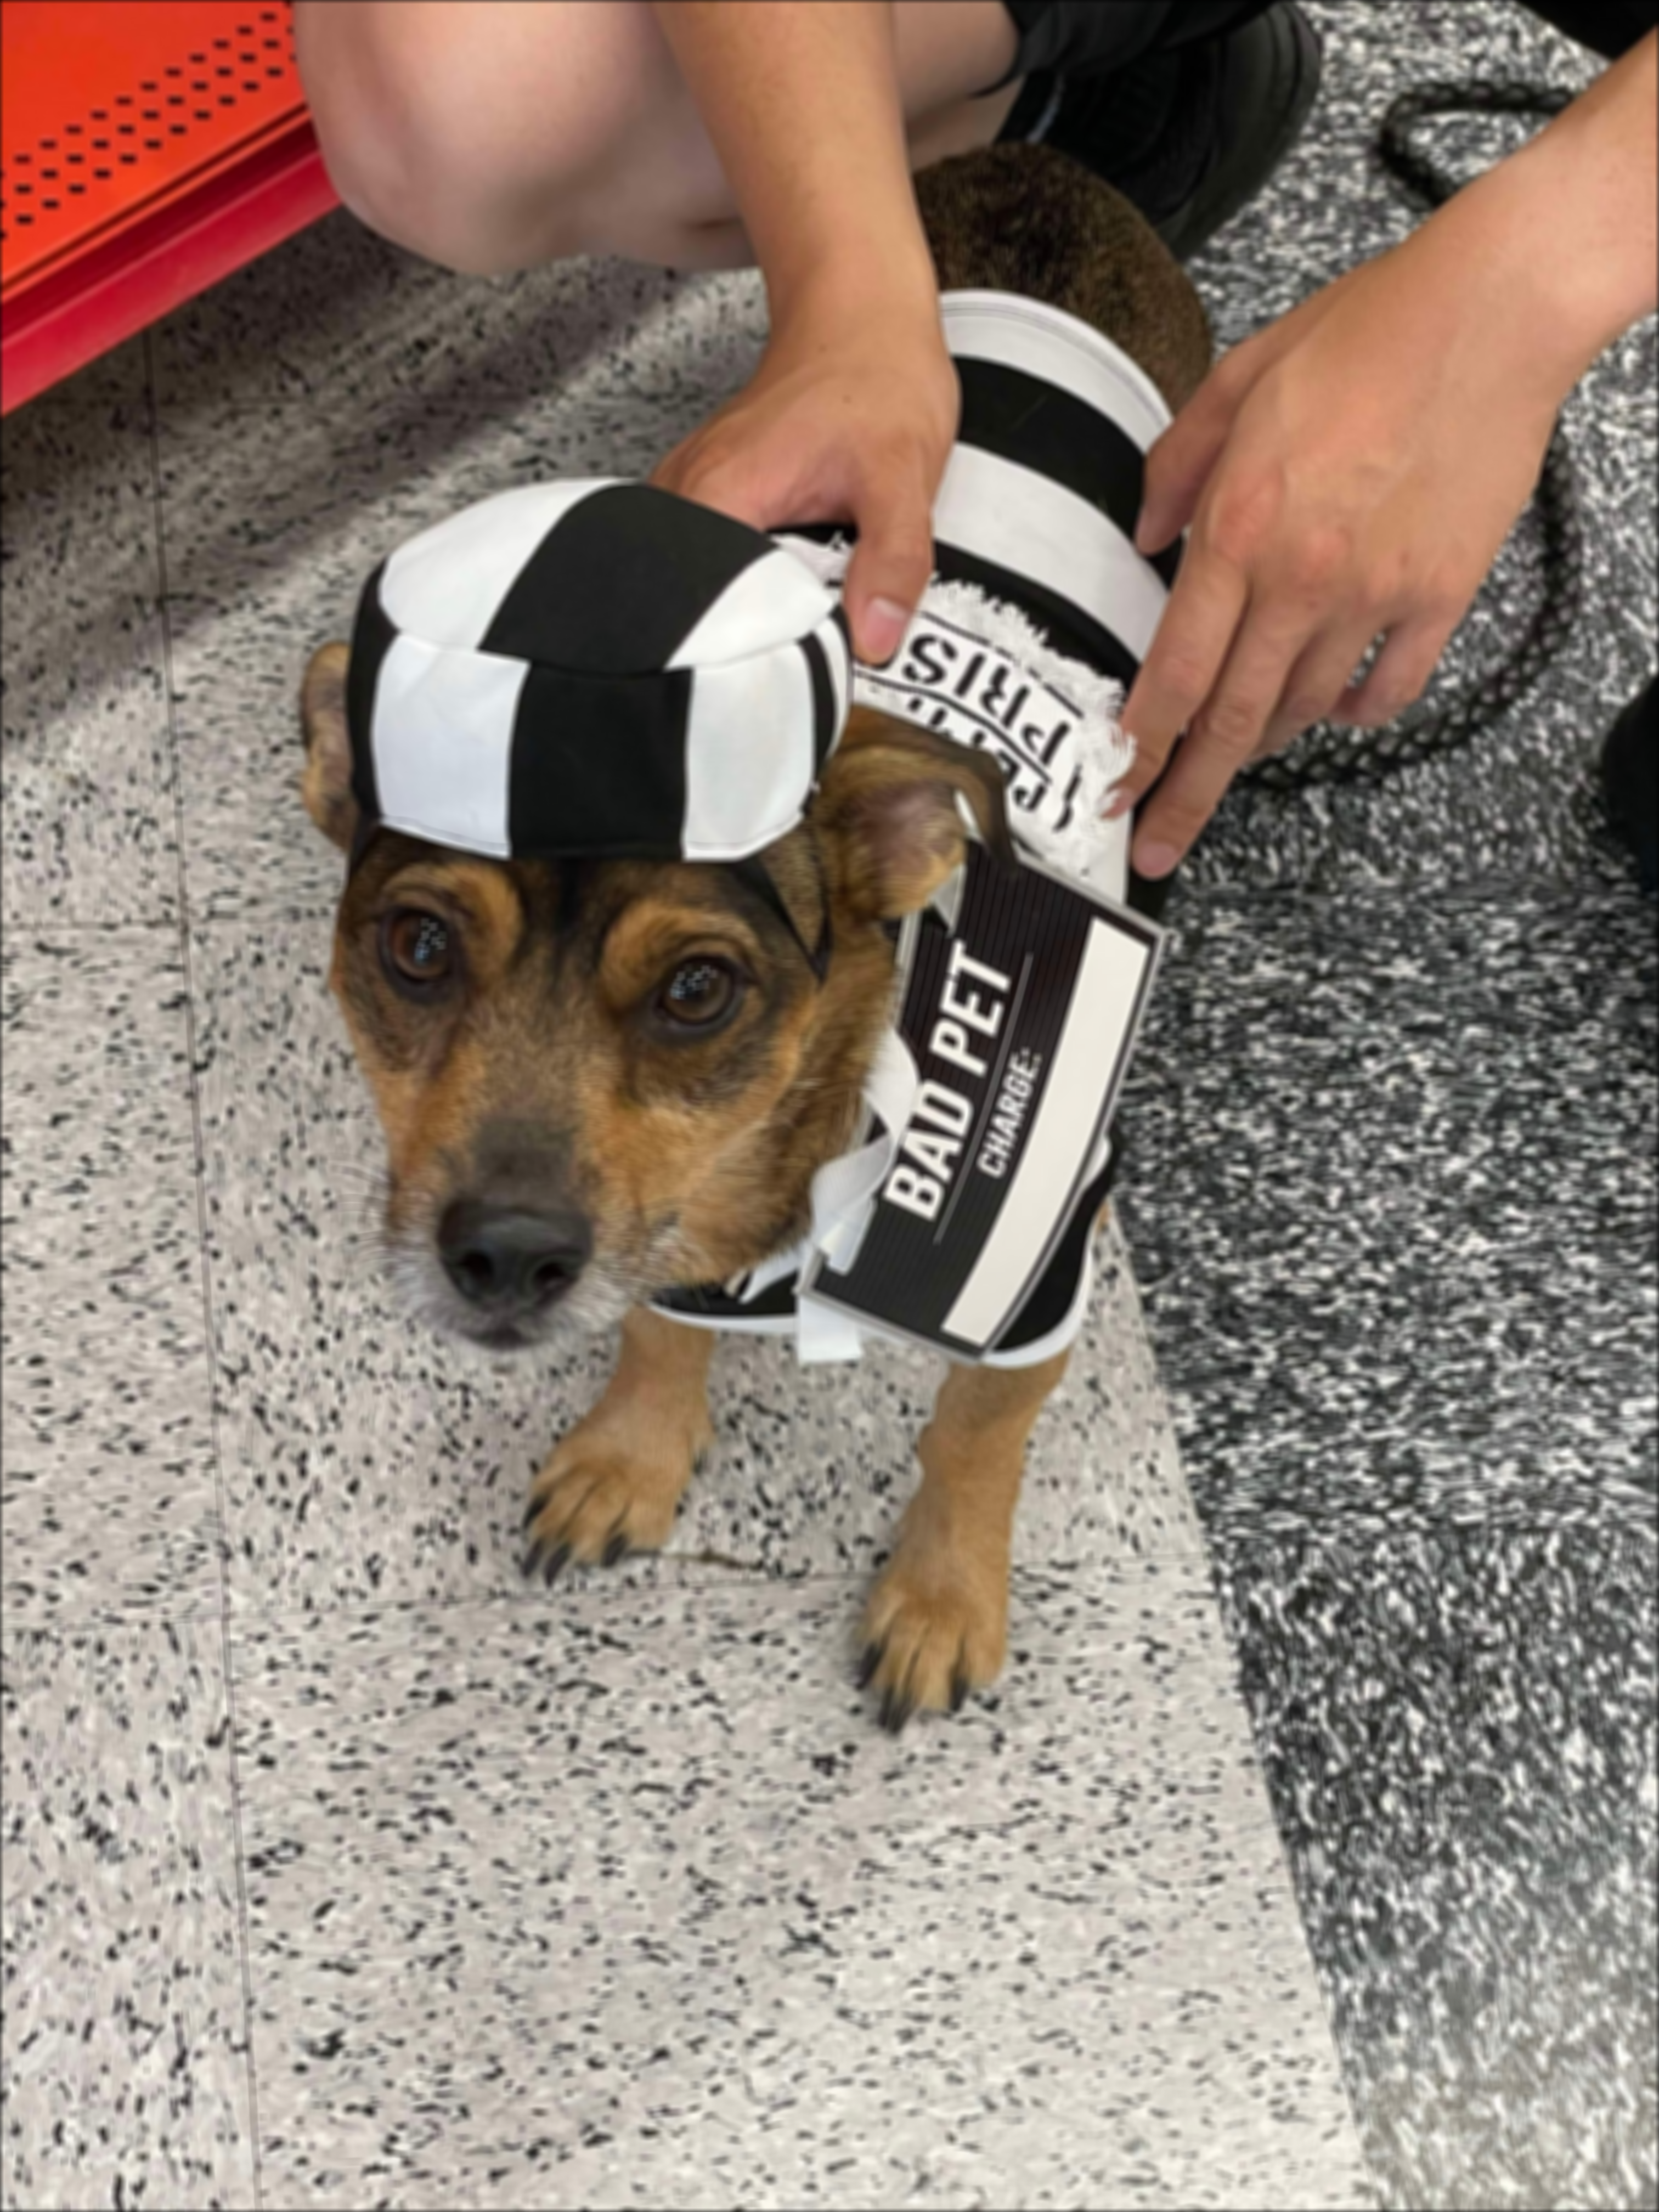
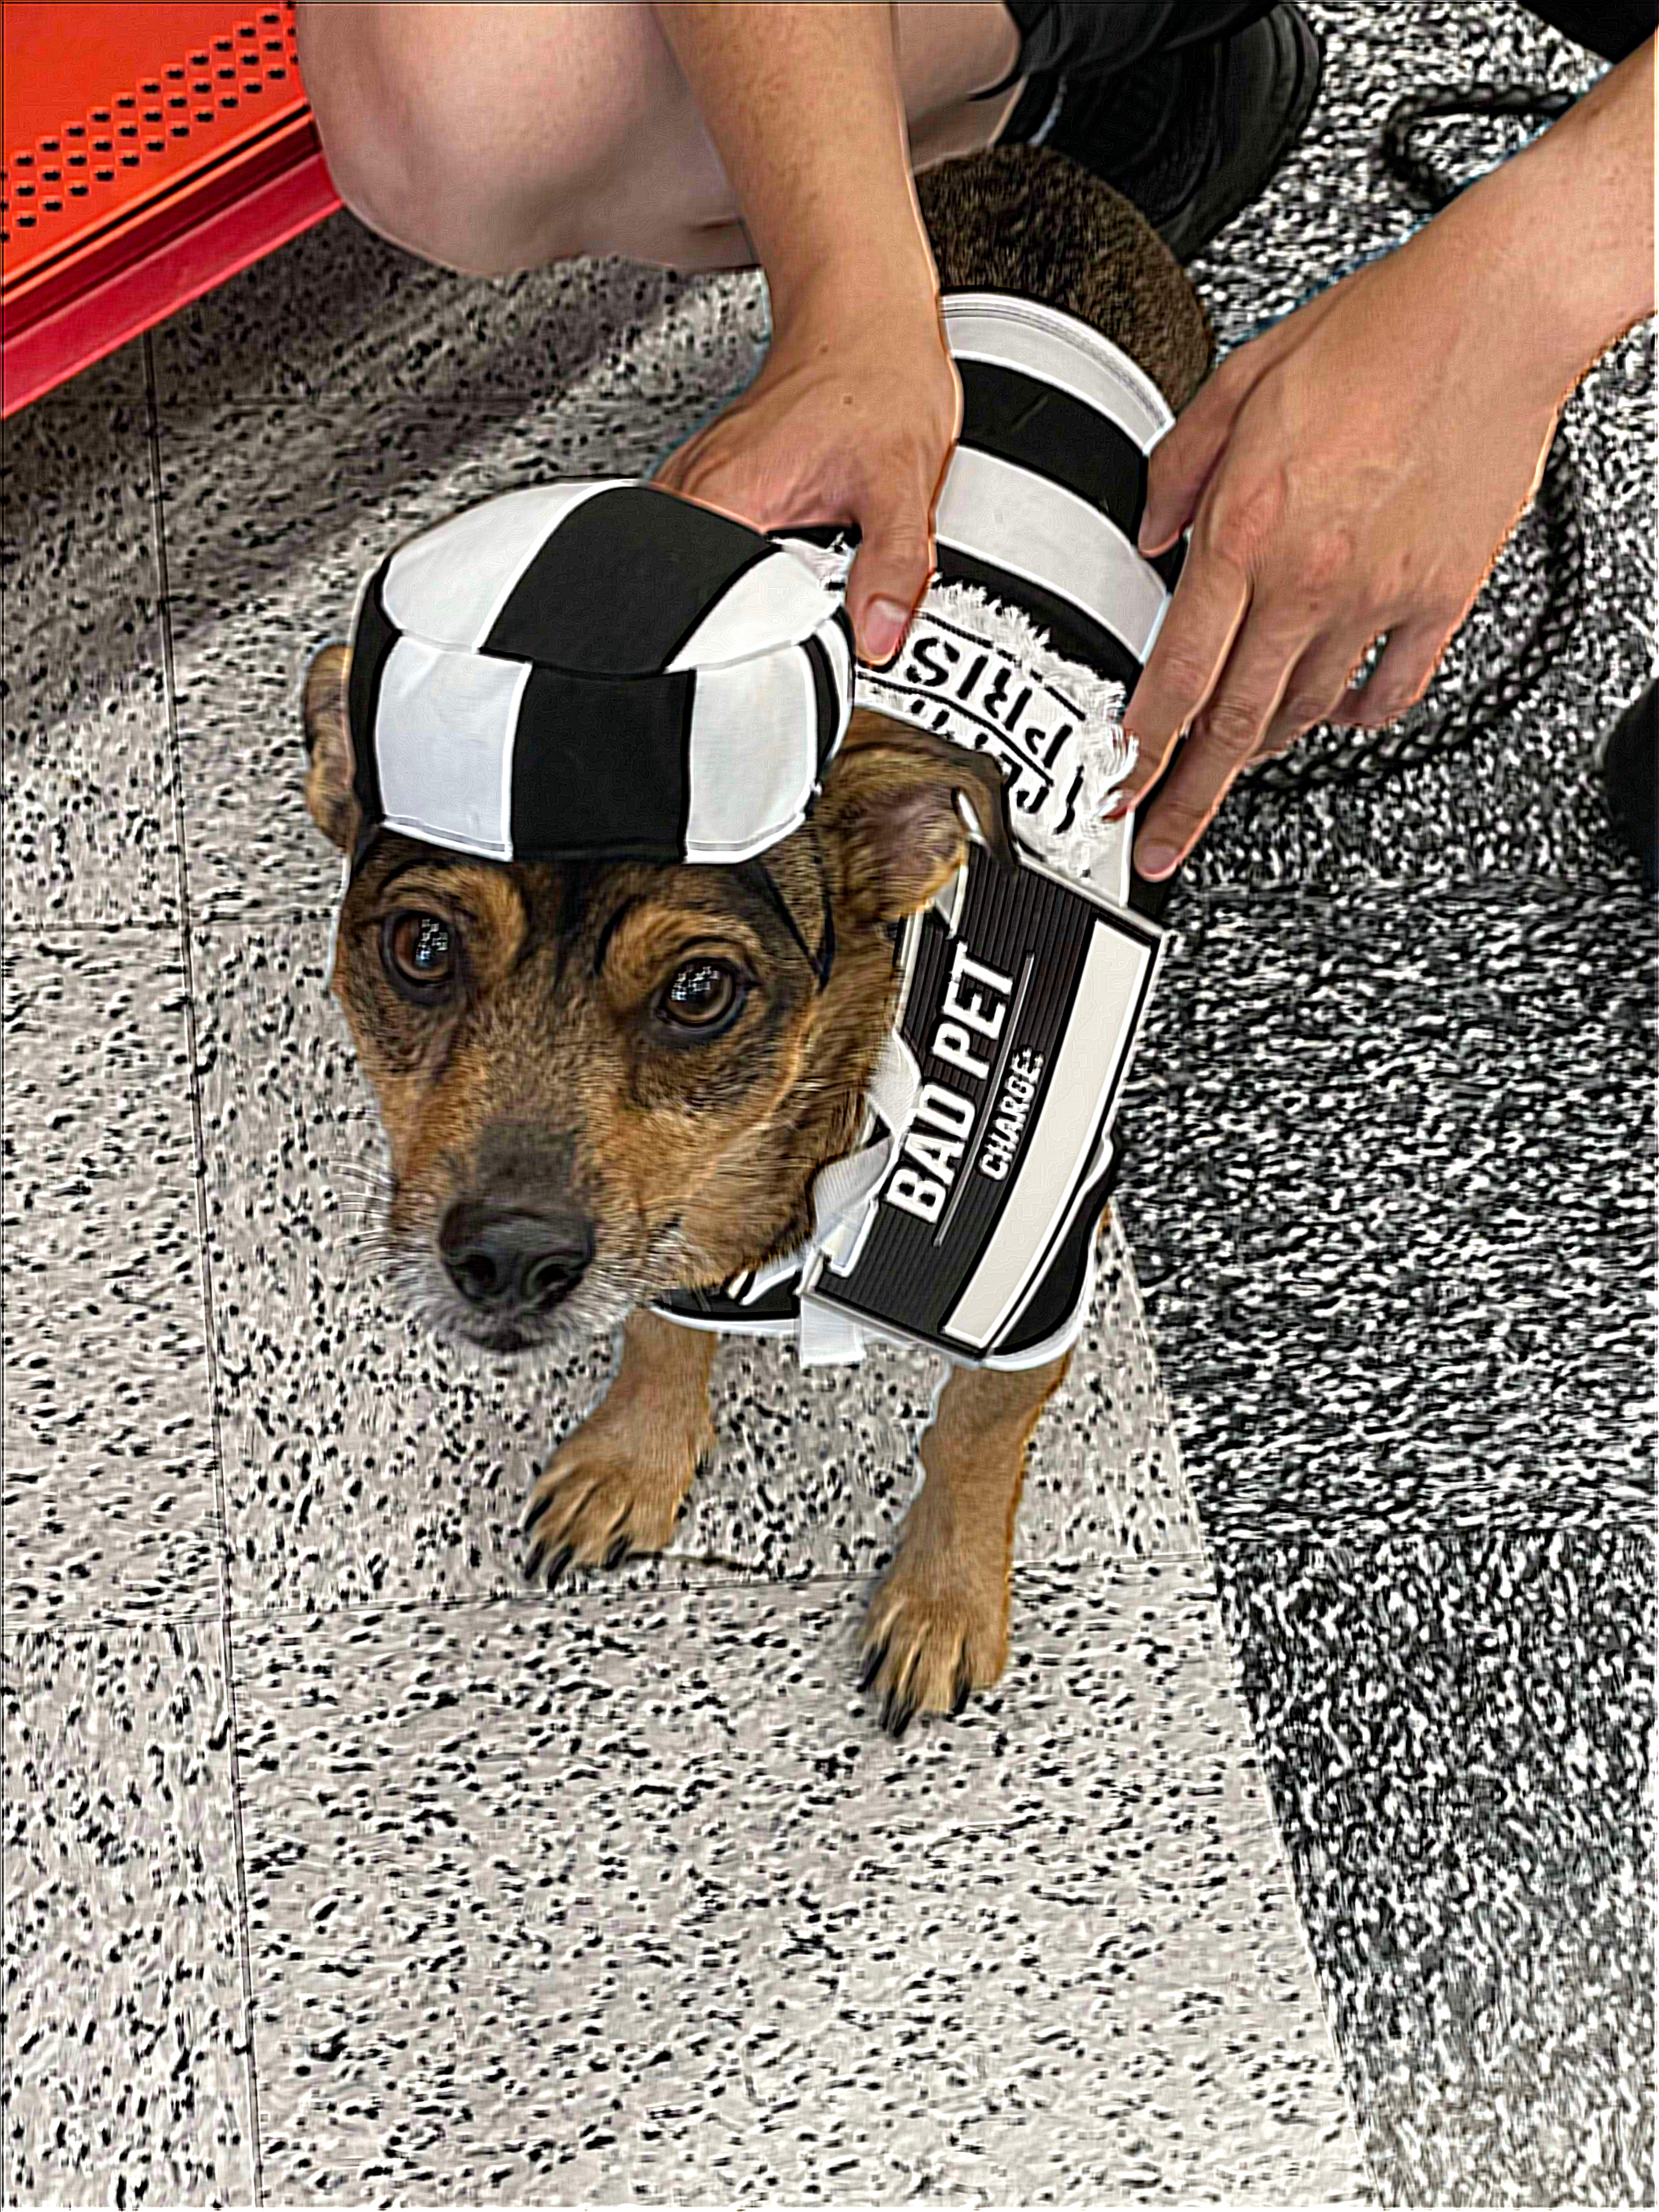
For this part, I use the Gaussian filter to get the low frequencies in an image. I then subtract the resulting blurred version (low frequencies) from the original image to get the high frequencies of the image. I then add the high frequencies to the original image to get the "sharper" looking image.

|
|
|
|
|
|
|
|
|
Also for evaluation, pick a sharp image, blur it and then try to sharpen it again. Compare the original and the sharpened image and report your observations.
Despite the image looking sharper than the blurred version before and my best attempts at sharpening it as much as possible, there is a clear loss of information. This can be seen most with edges in the image, such as along the arms, along the edges of the hat, and along the bench, where the contrast in colors is greatest. The sharpened version is unable to replicate the same smoothness in edges because the blurring from earlier removed the high frequency signals. We are unable to get those back exactly and instead have to use the other high frequency signals now in the sharpened version.
Part 2.2: Hybrid Images
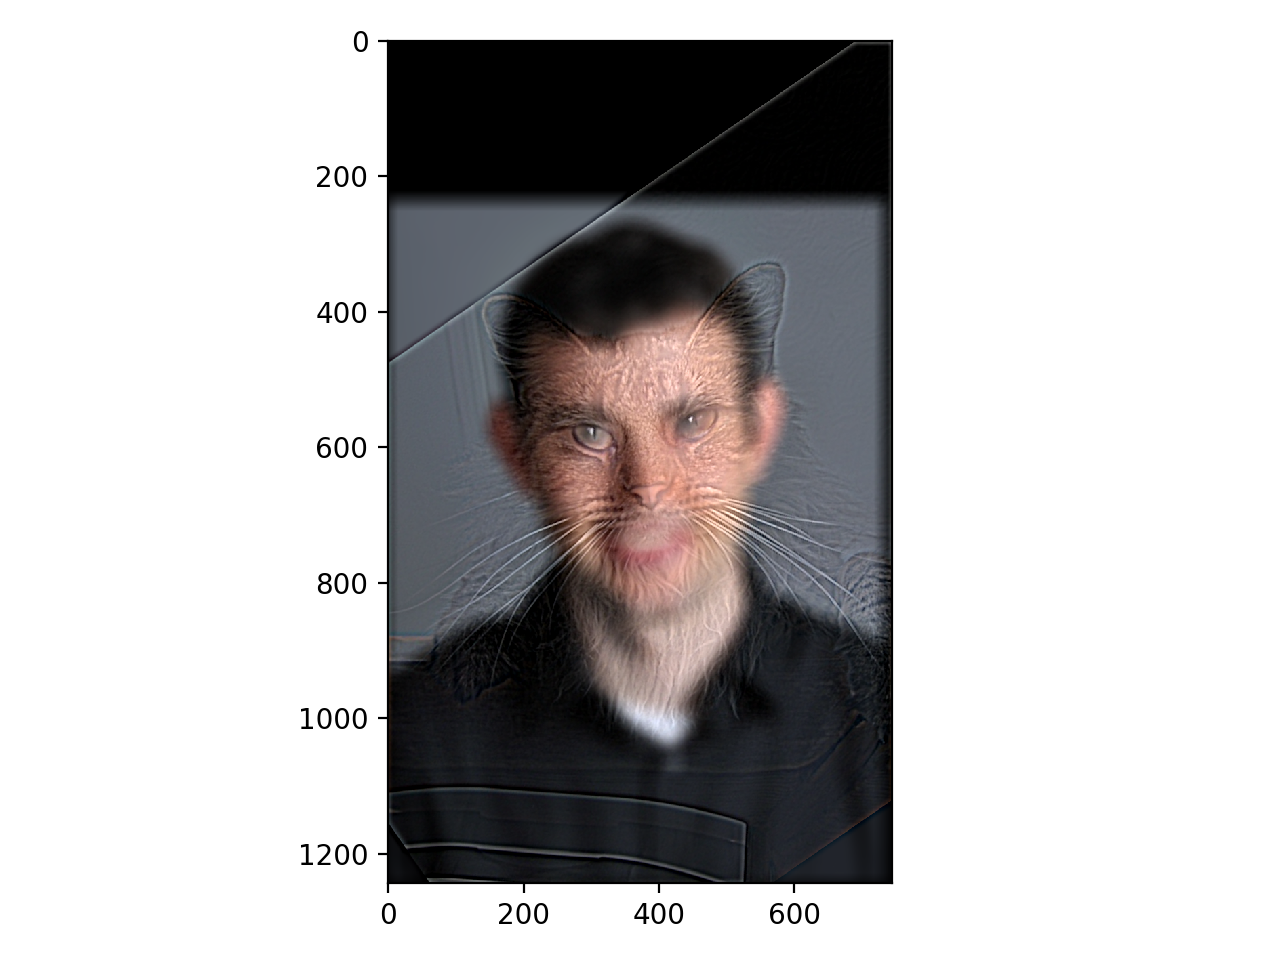
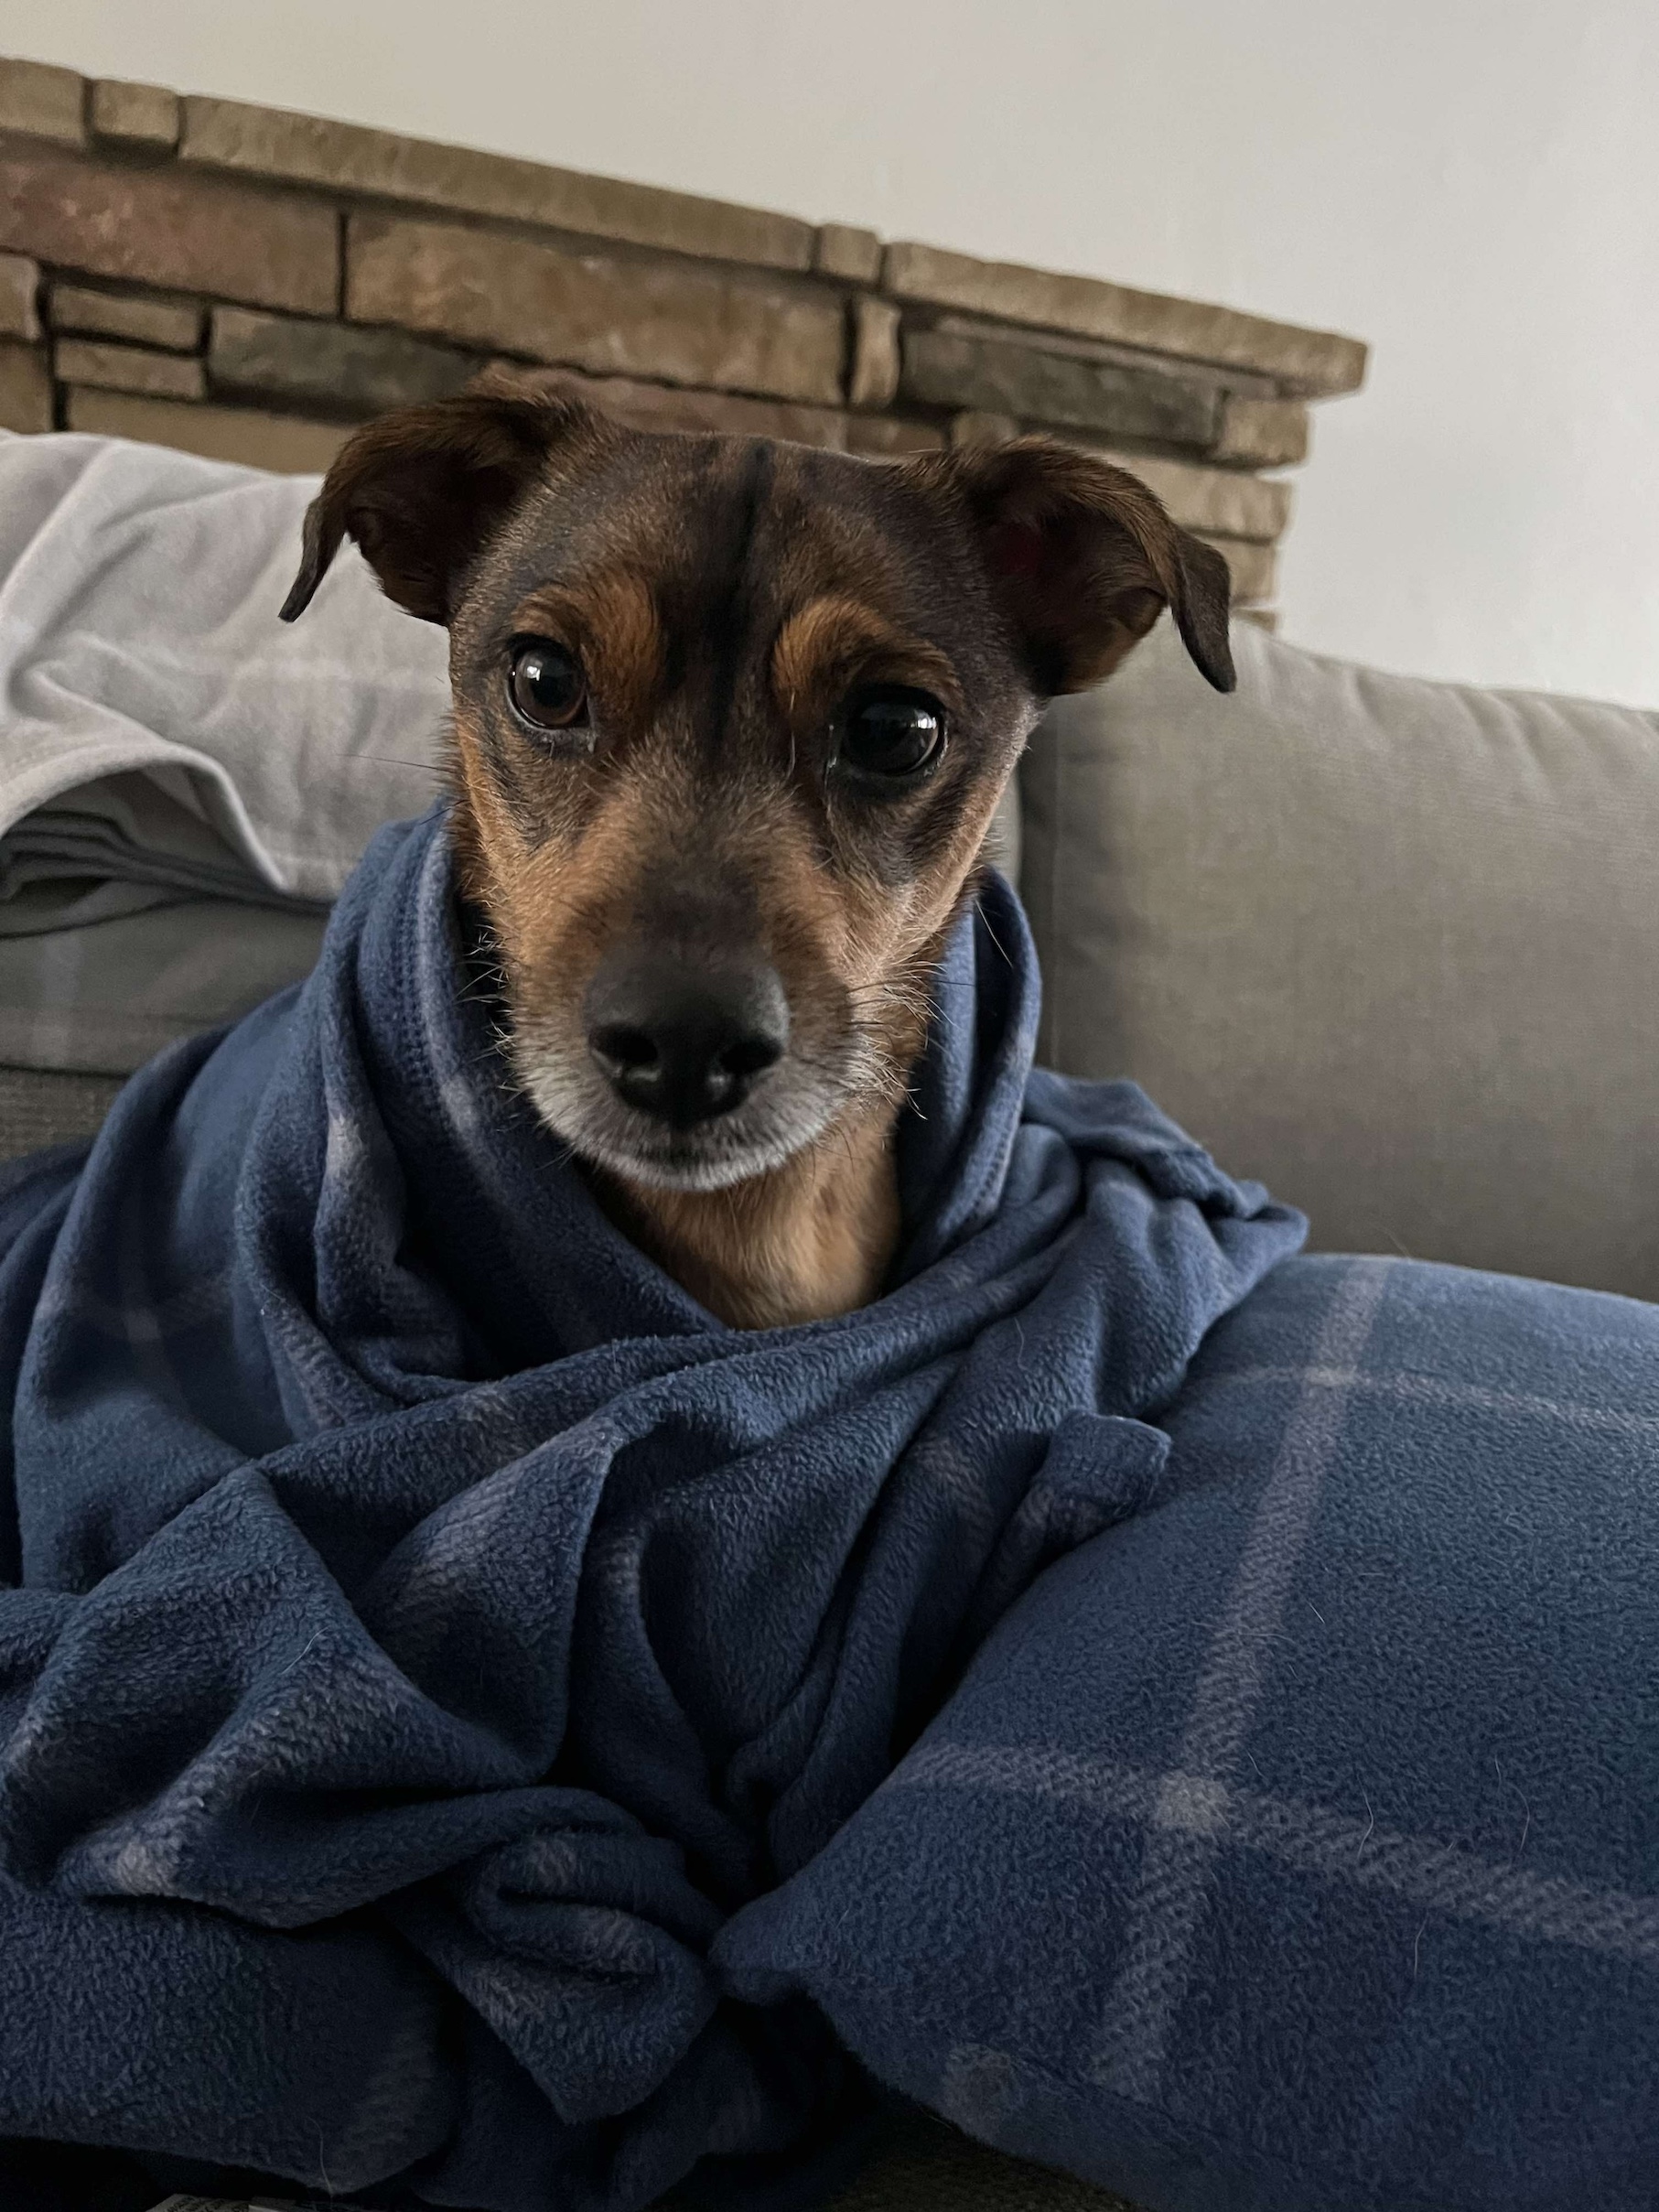
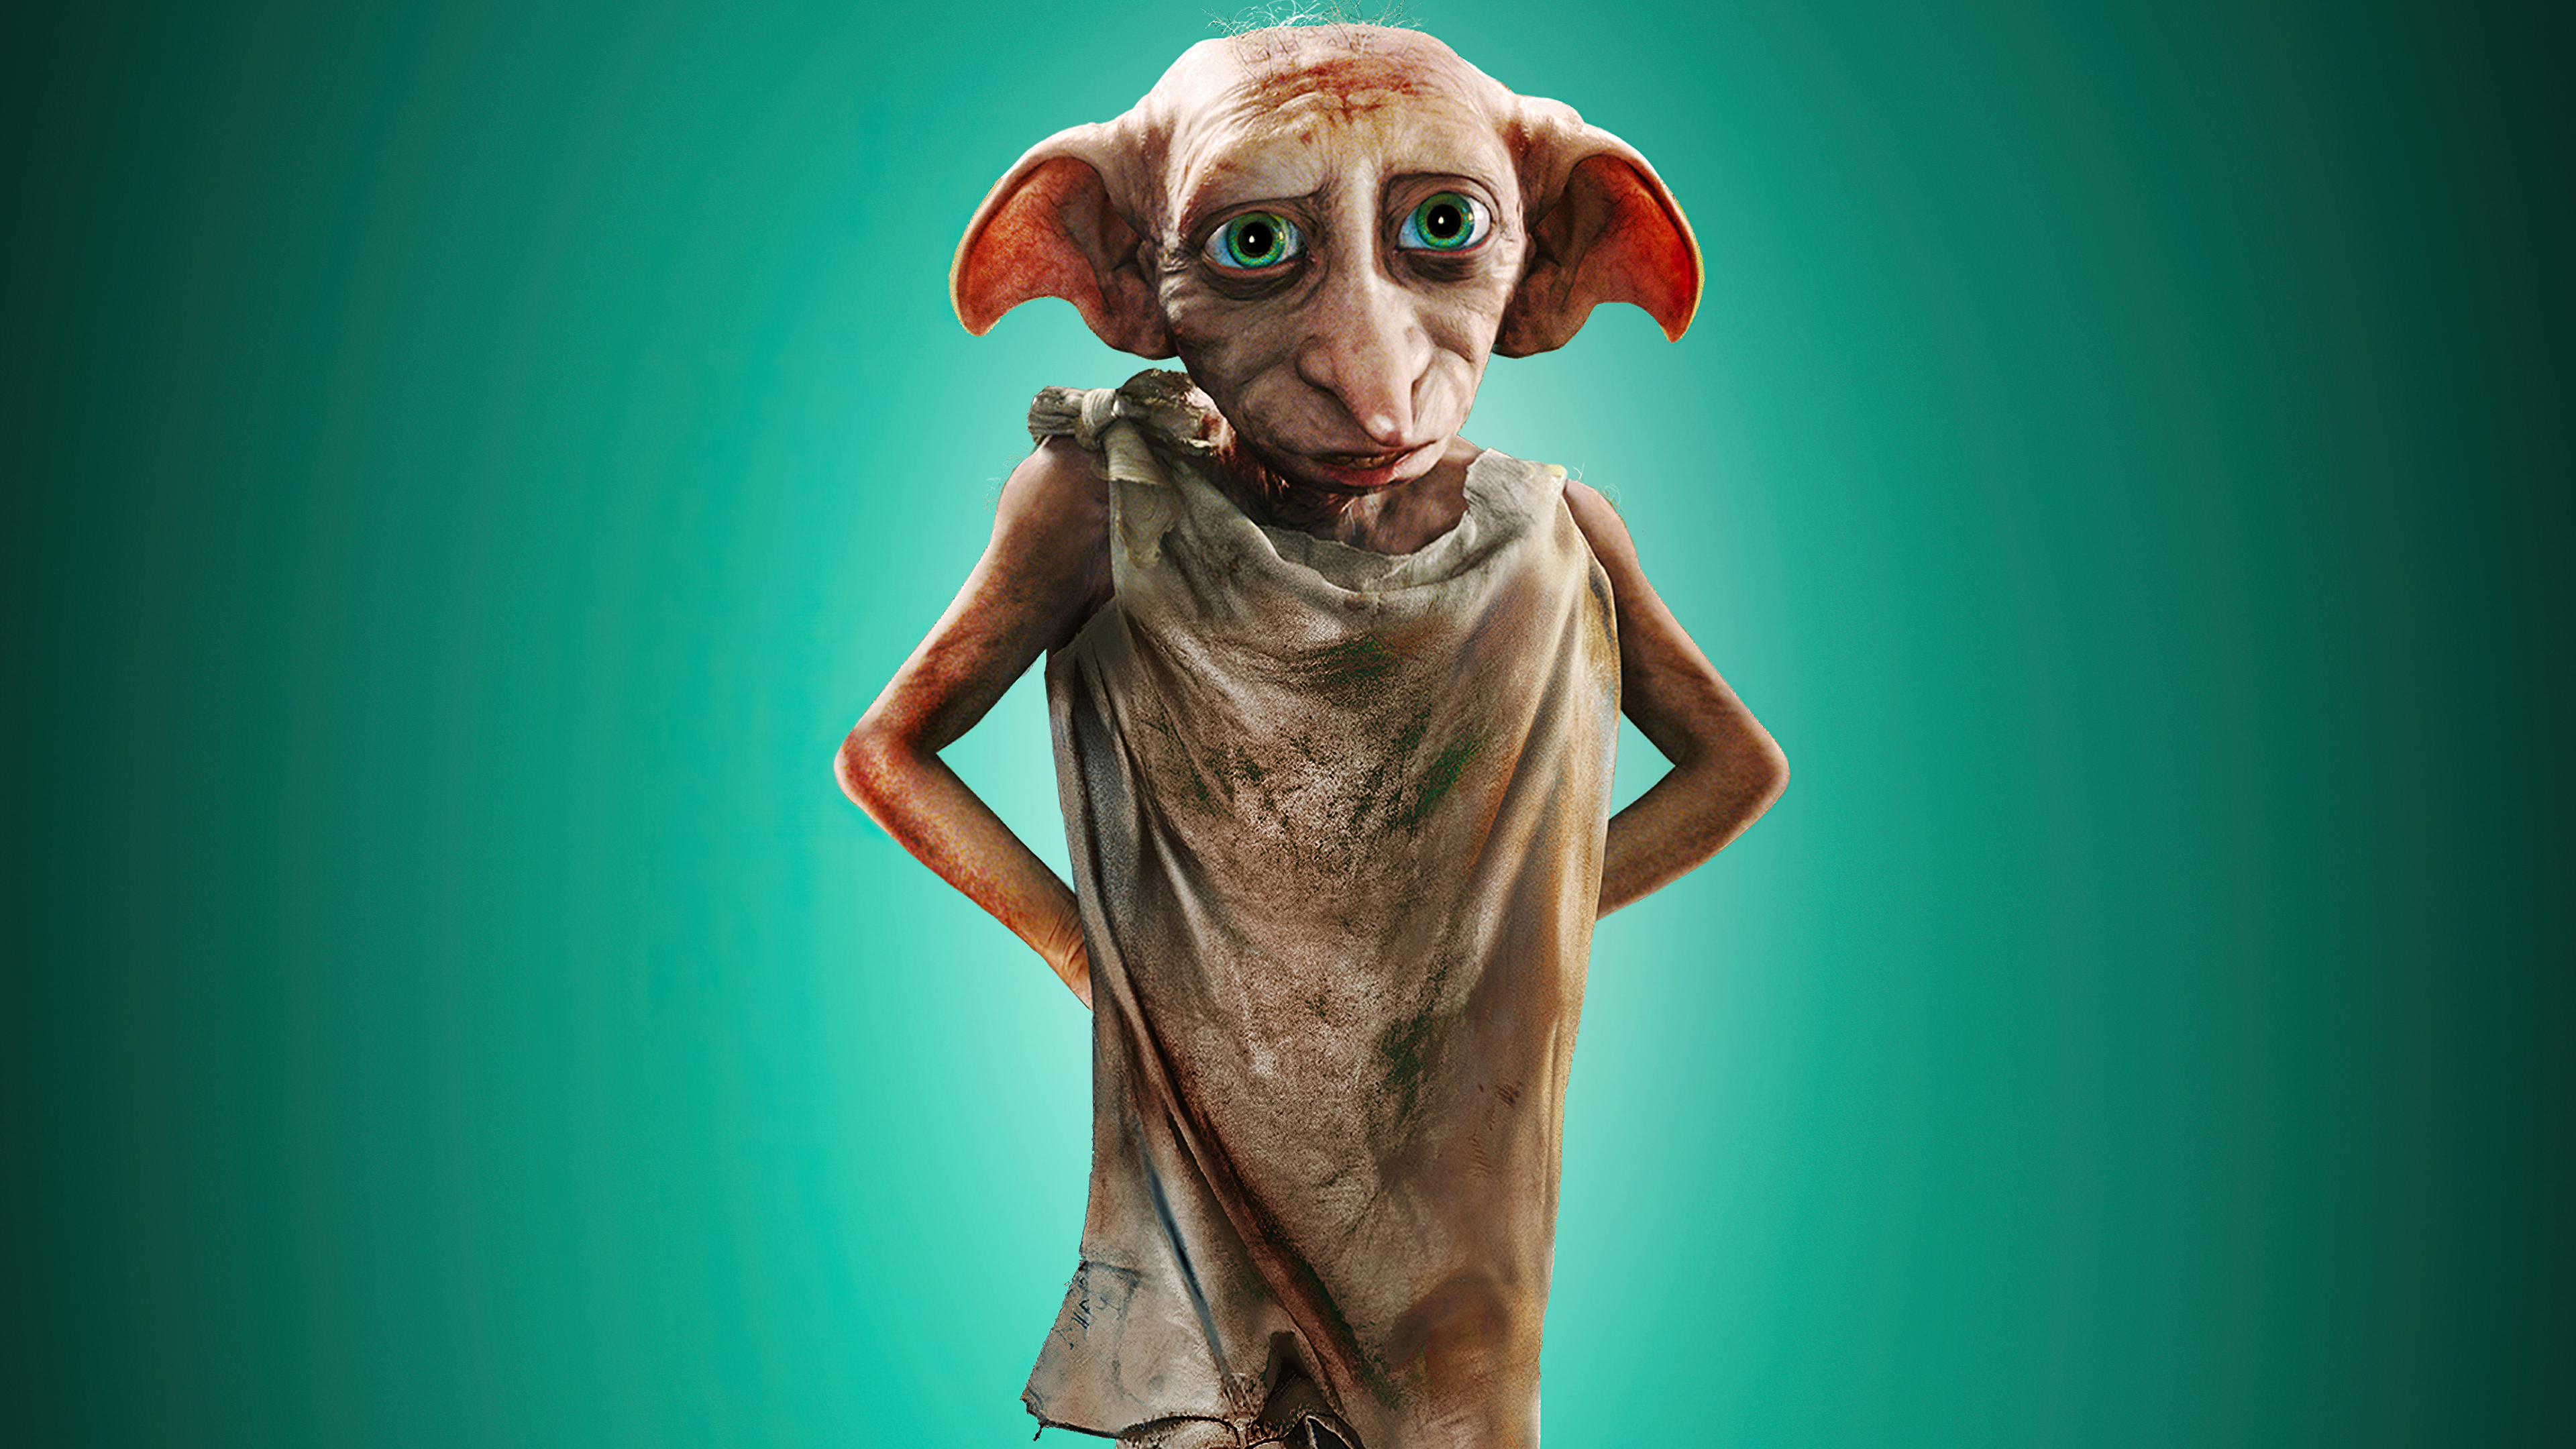
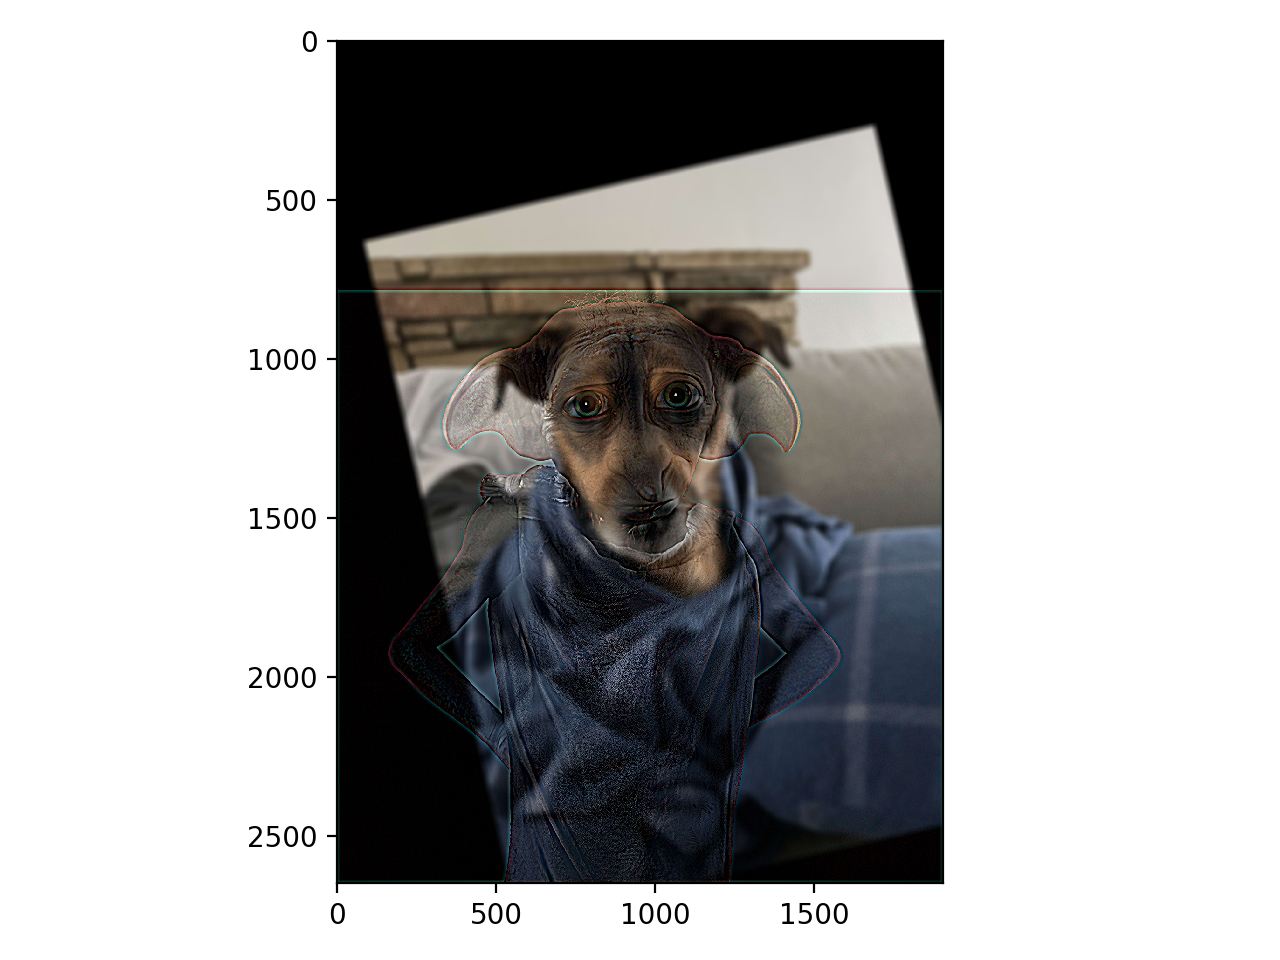
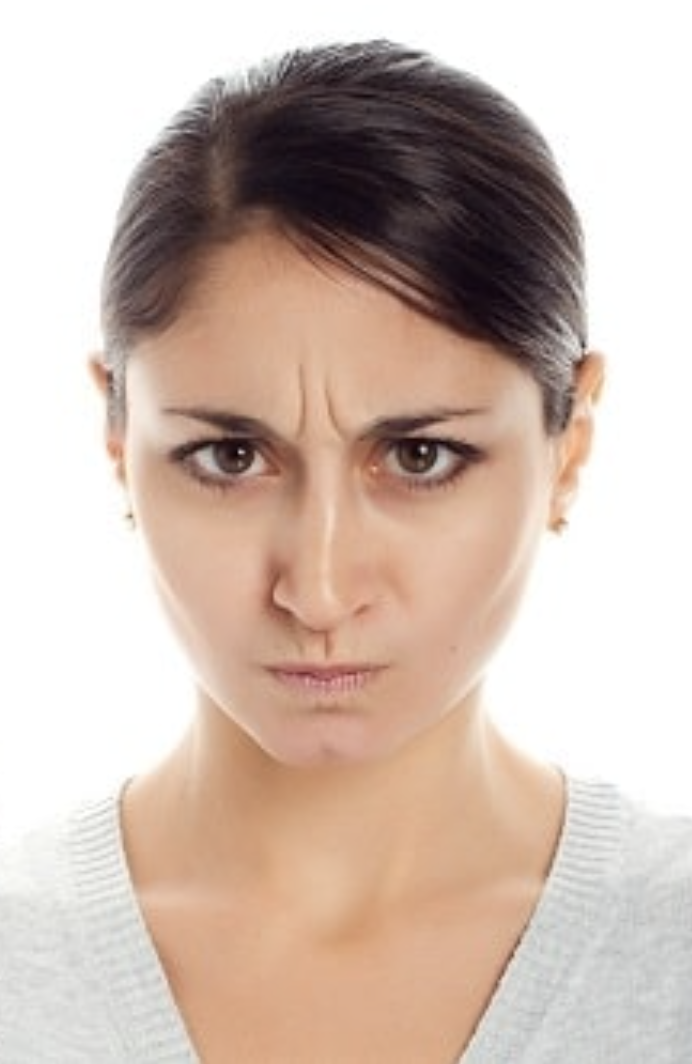
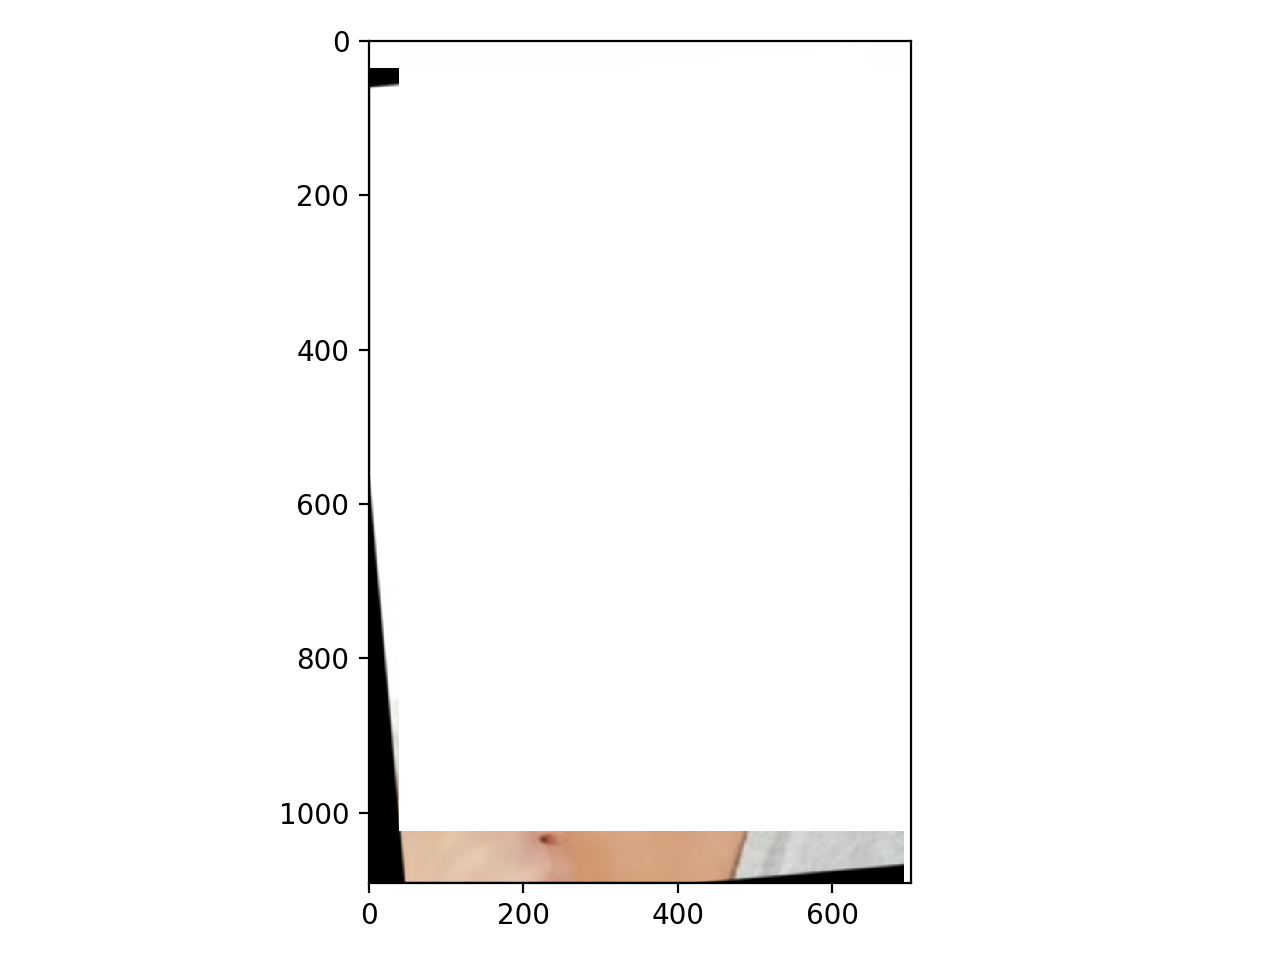
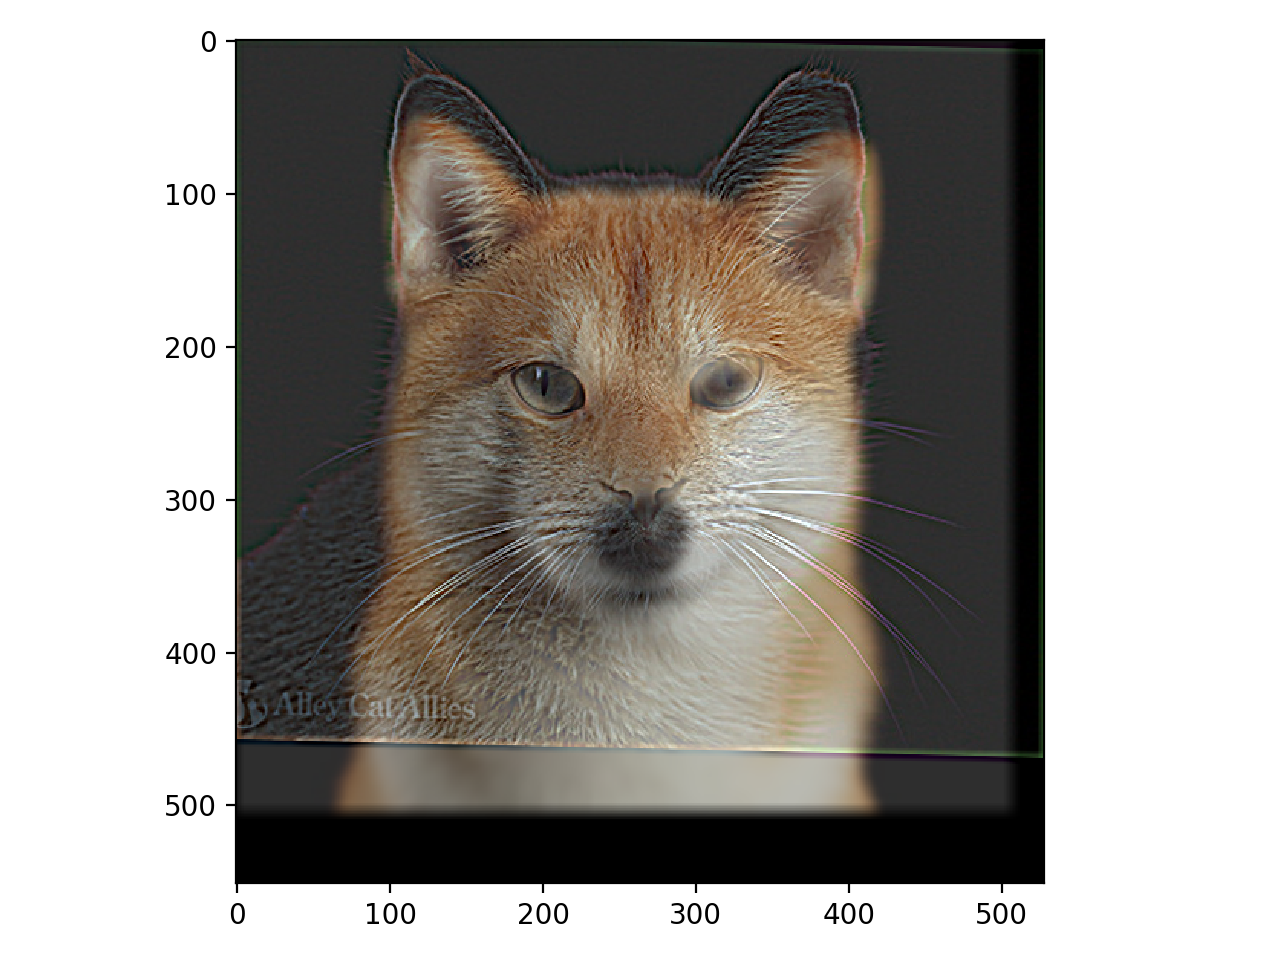
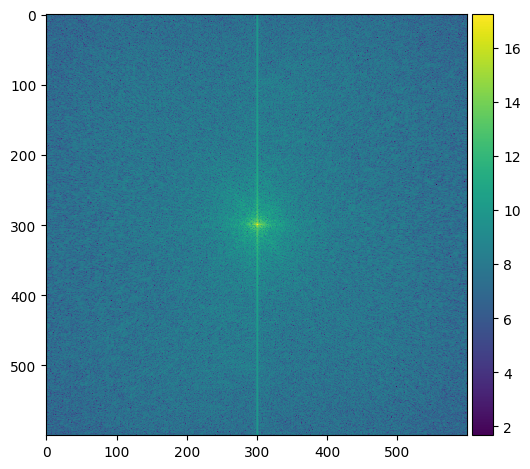
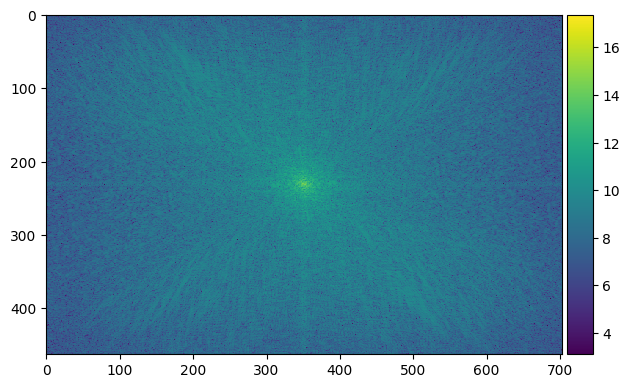
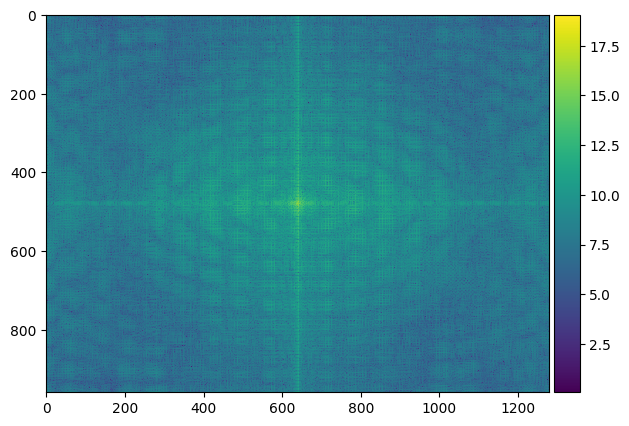
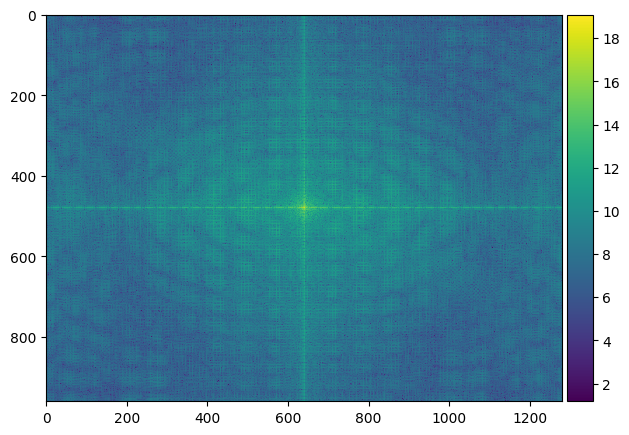
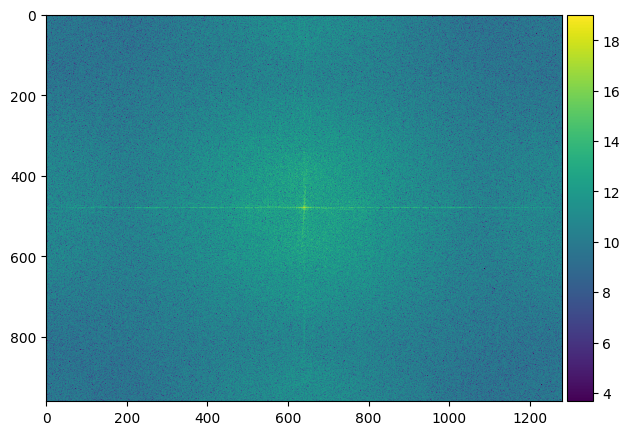
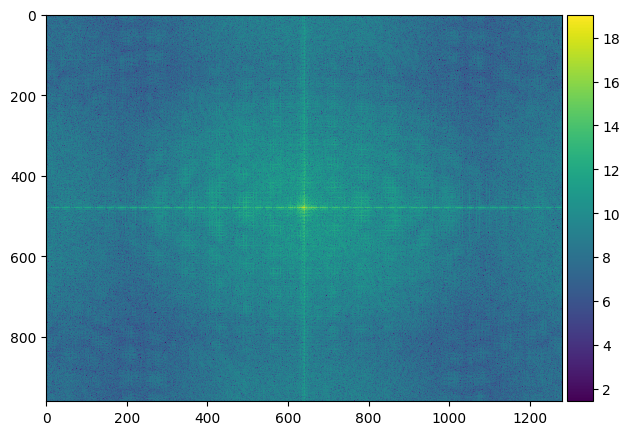
For this part, I separated two images into high frequencies and low frequencies, and combine them together to create hybrid images. The idea behind this is that at far distances, only low frequencies in an image could be seen, while at a closer distance, high frequencies can also be seen. This results in an application of frequencies where you can see two things in one image at different distances.

|

|
|
|
|
|

|
|
|

|

|
|
|
|
|
|
|
|
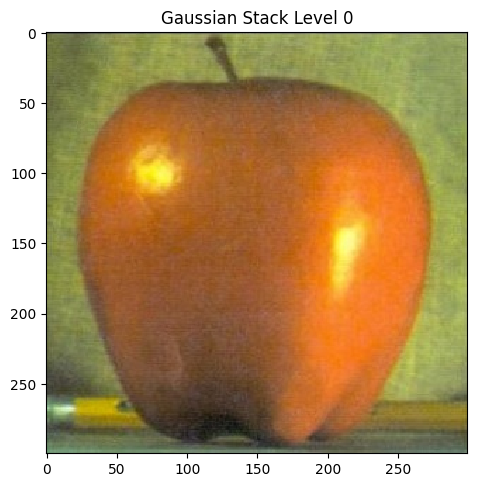
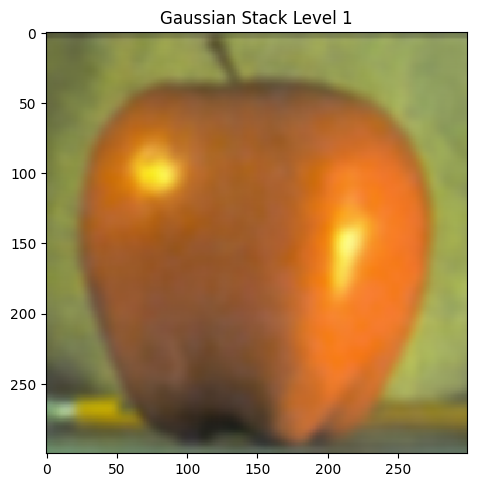
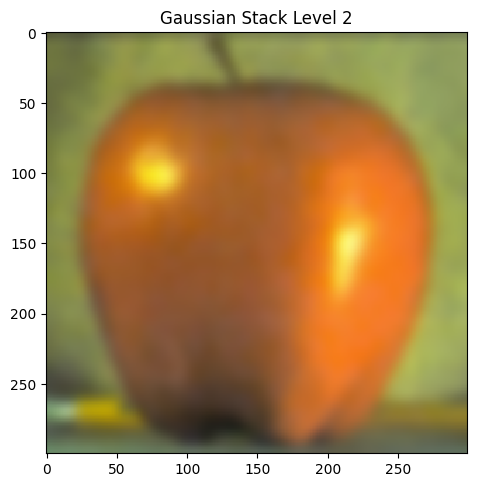
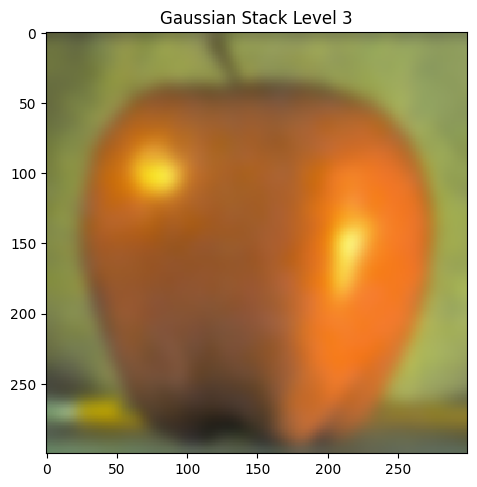
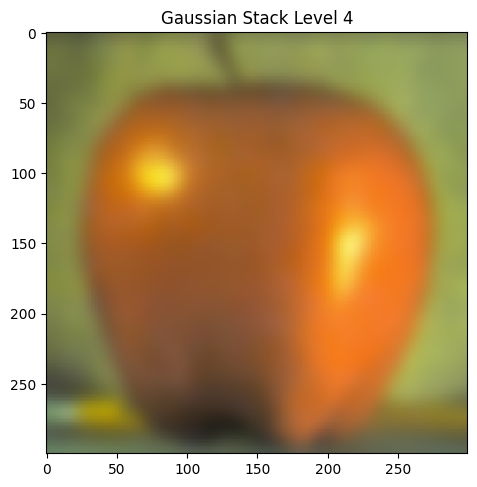
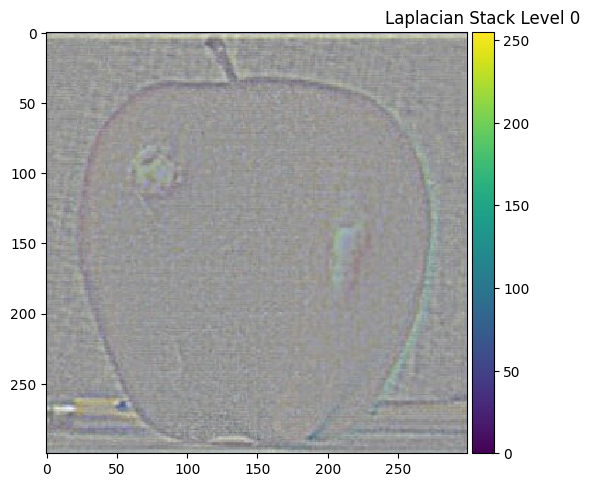
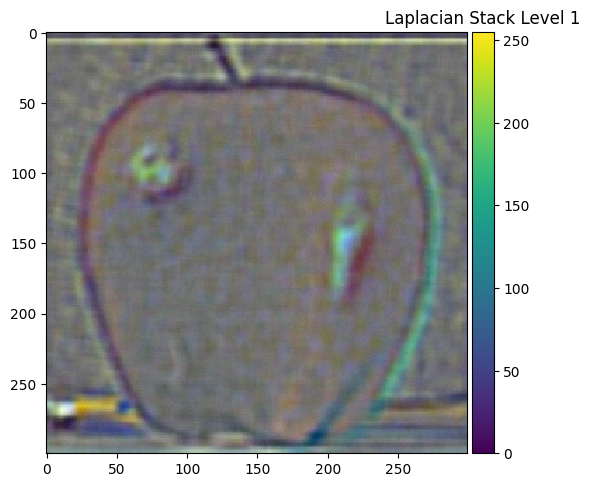
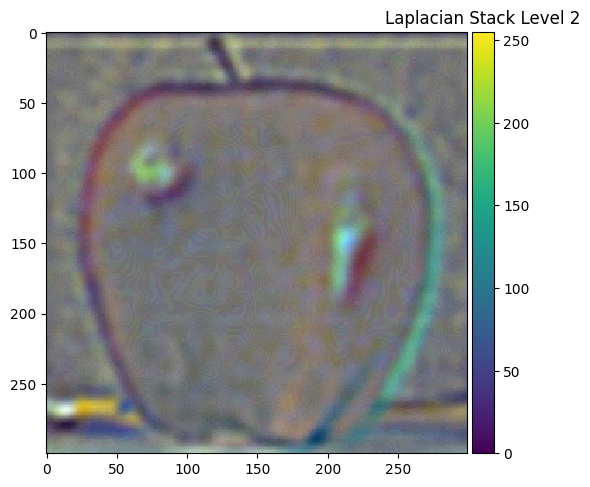
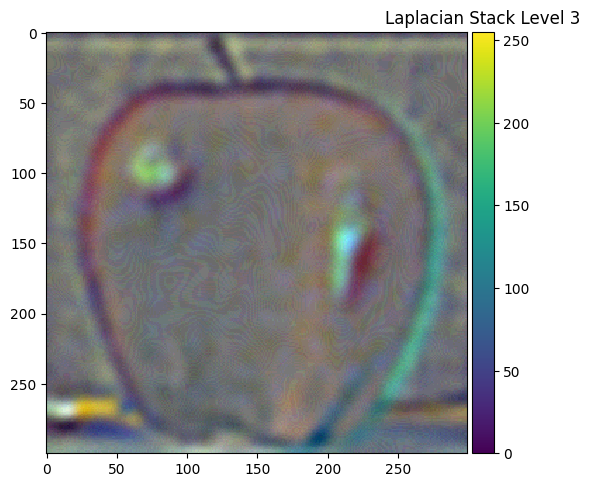
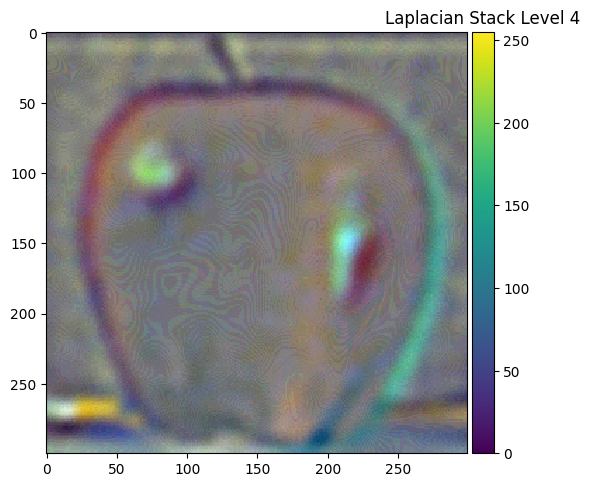
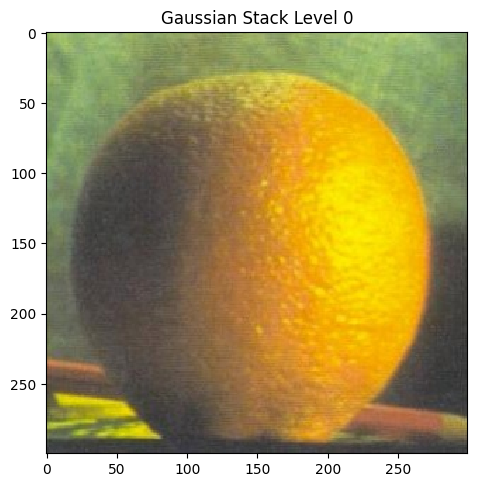
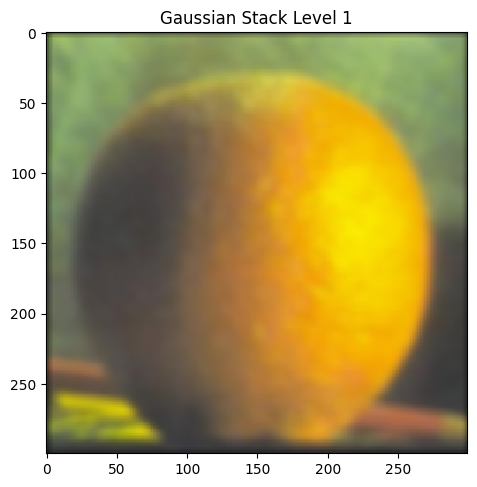
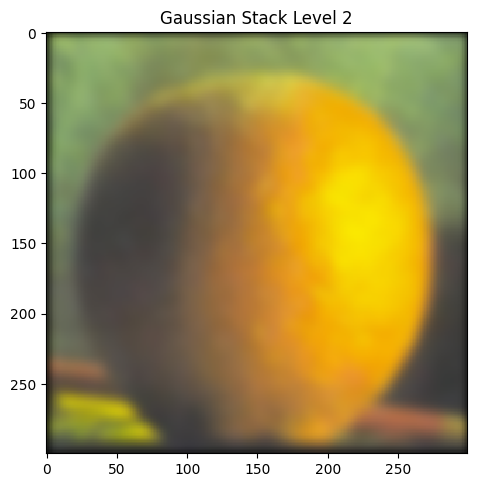
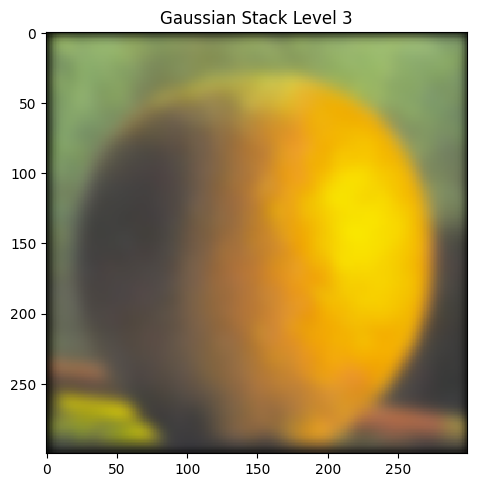
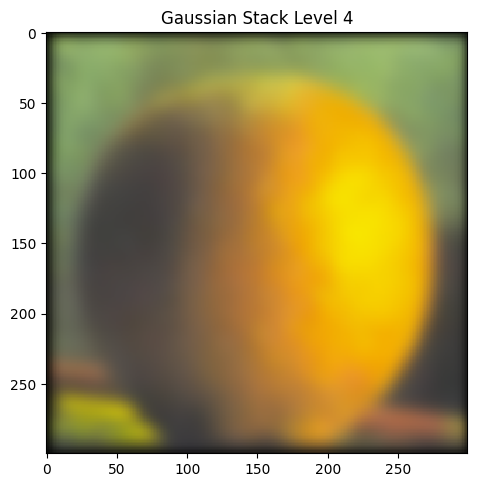
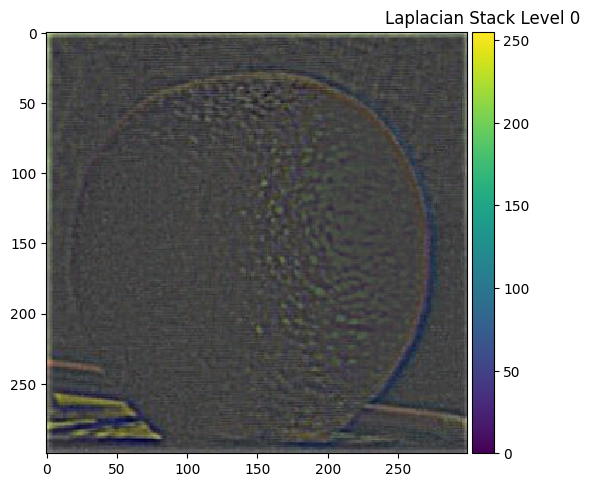
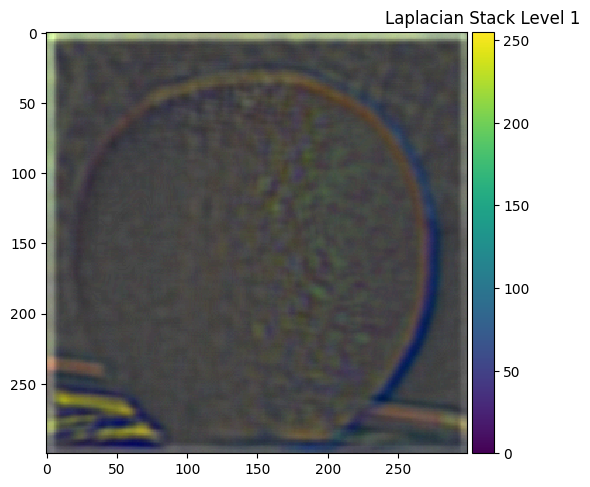
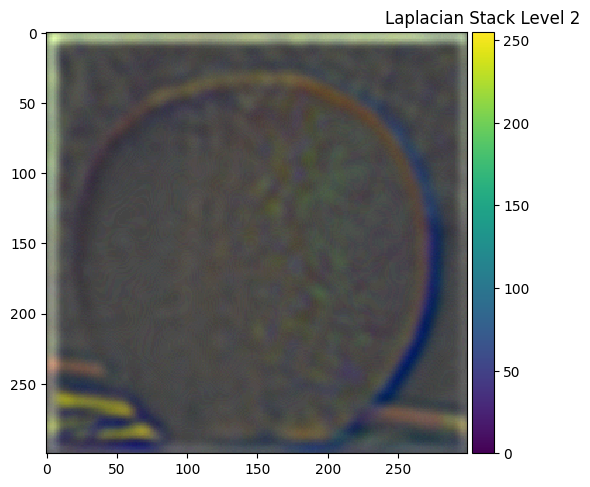
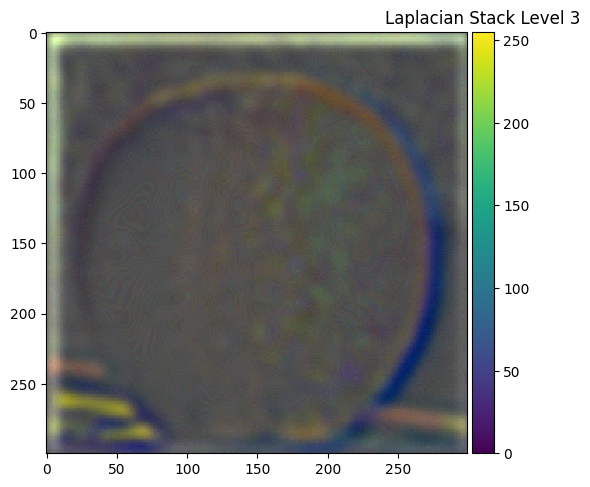
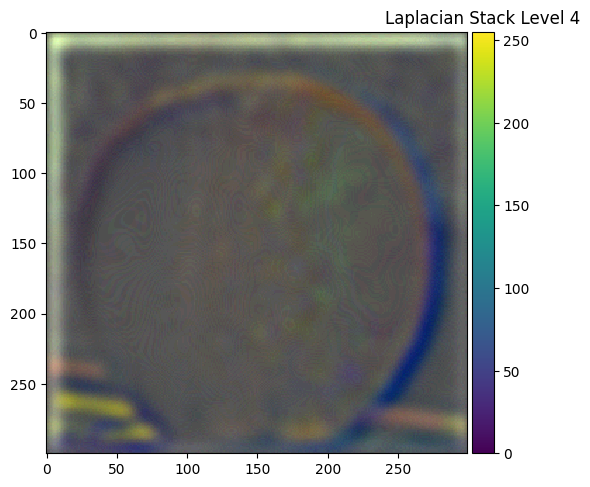
Part 2.3: Gaussian and Laplacian Stacks
|
|
|
|
|
|
|
|
|
|
|
|
|
|
|
|
|
|
|
|
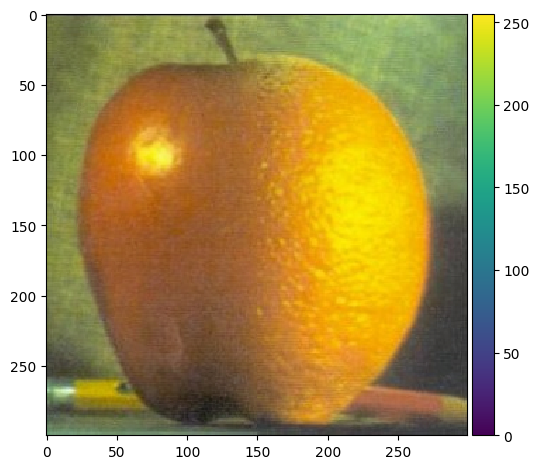
Part 2.4: Multiresolution Blending (a.k.a. the oraple!)

|

|

|

|

|
|
Tell us about the most important thing you learned from this project!
The most important thing I learned from this project is that no matter how good code is sometimes, it is equally important to have good images.
I ran into so many problems with the hyrbid images and most of them were resolved by simply switching images.
Overall, the coolest part about this project is that I found that with just a little bit of math, visually stunning results could be produced!